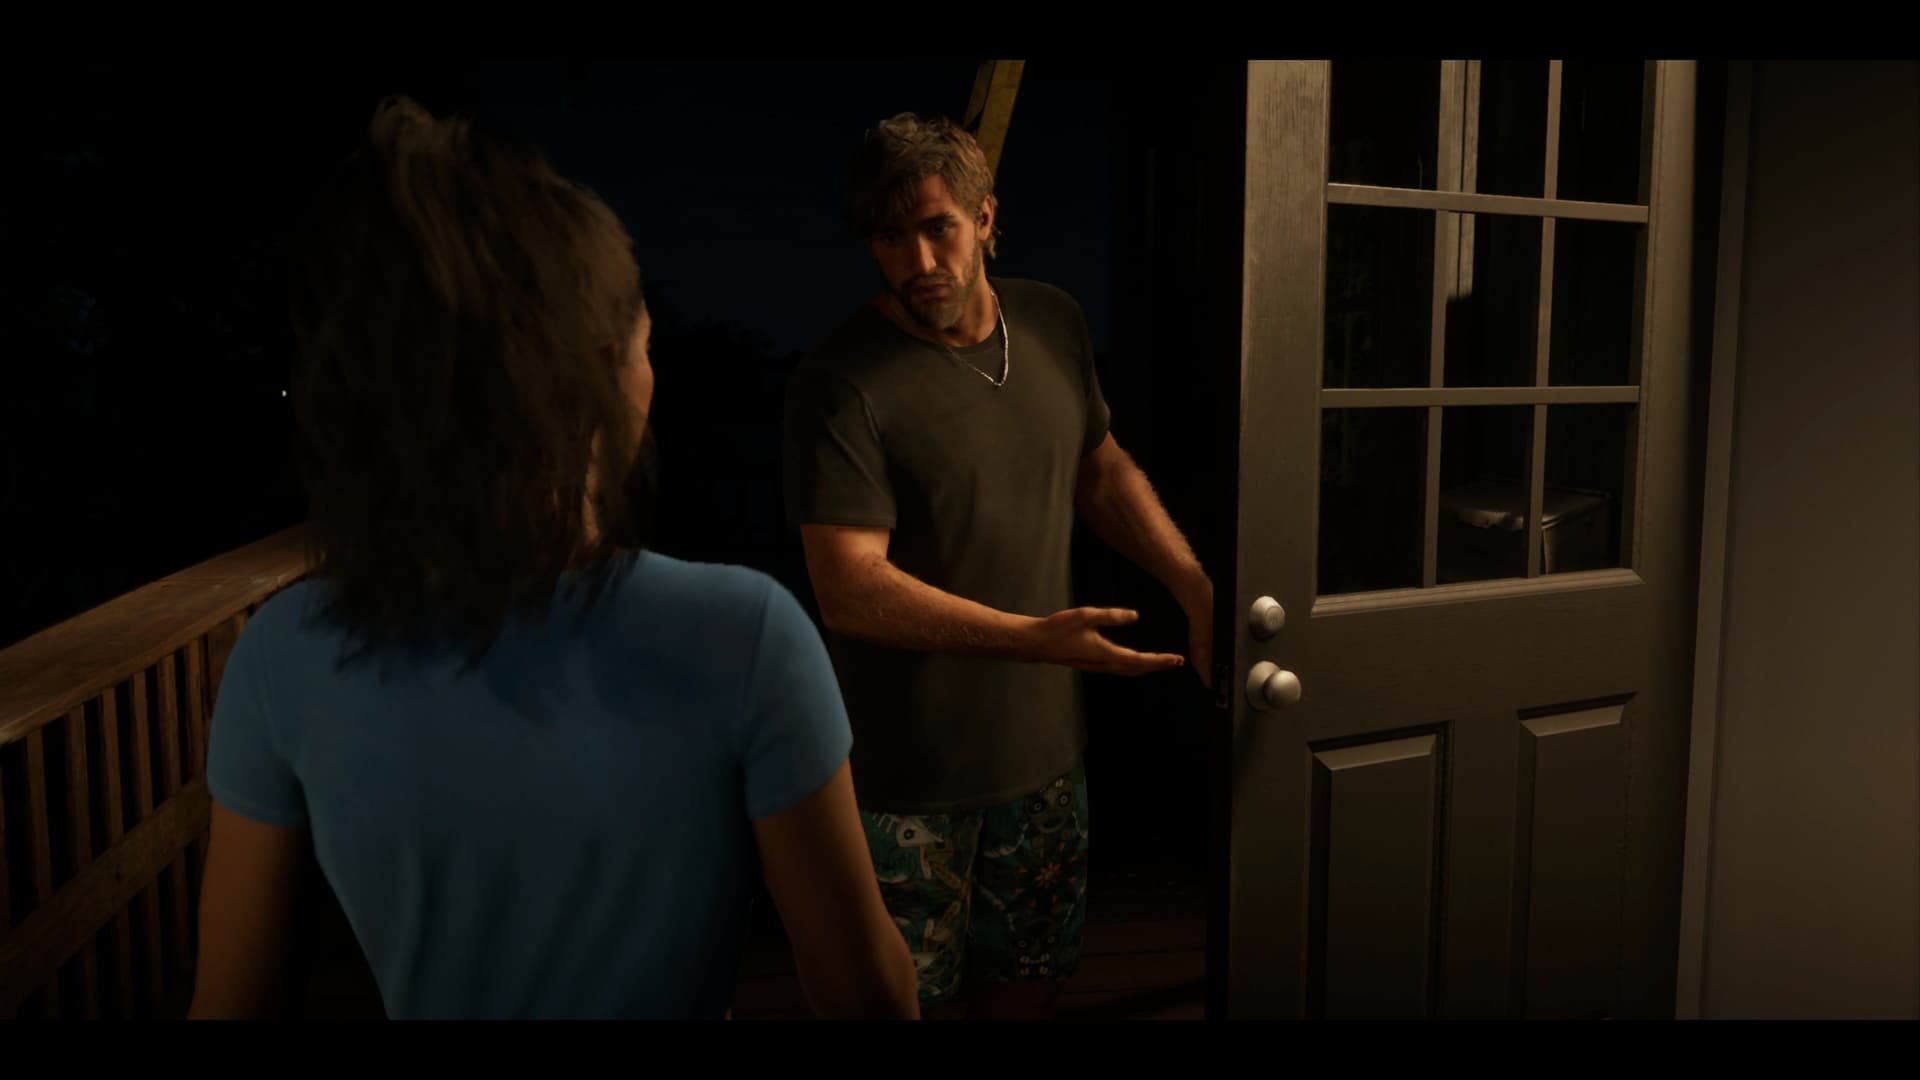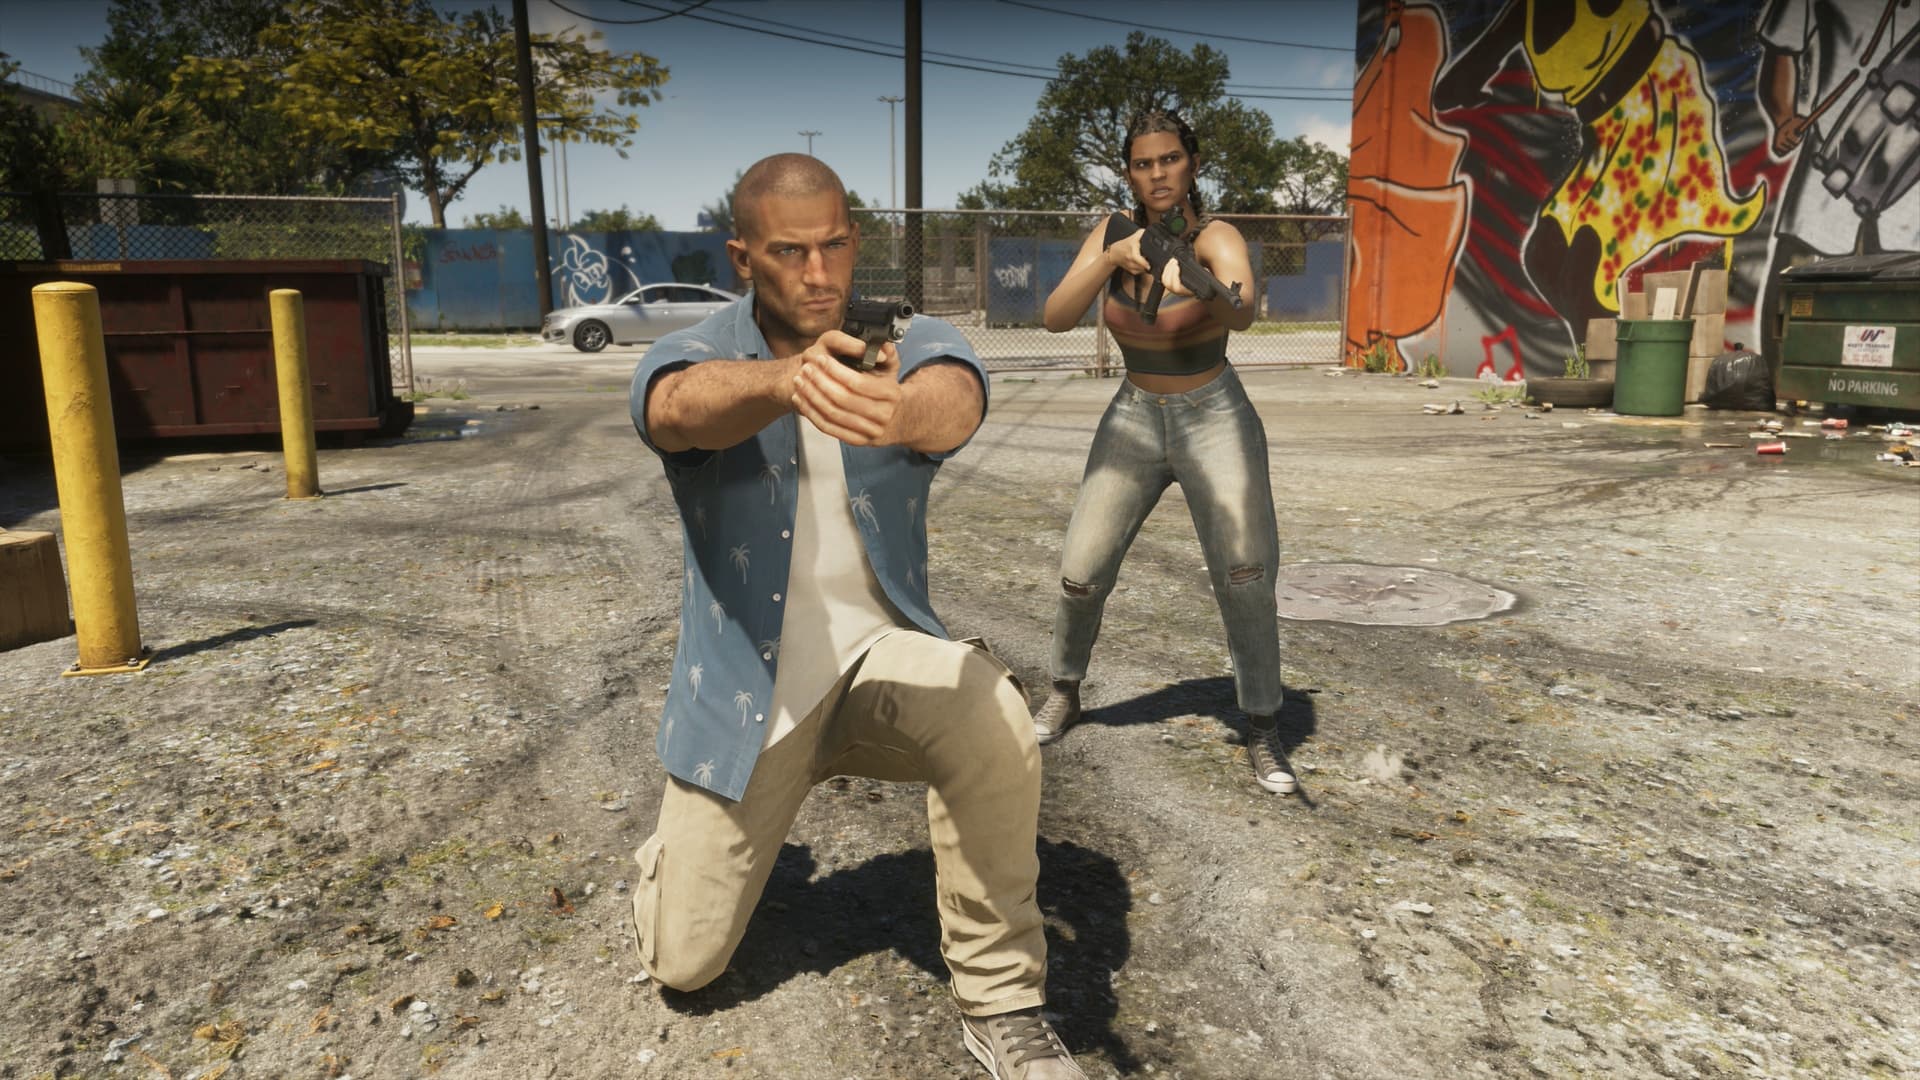
A lot works differently in GTA 6 compared to earlier games: the wanted system and weapons have been reworked, the characters now have stats, and the relationship between Jason and Lucia shapes part of the story. Below are tips that will help in the first hours of the game, whether you're new to the series or a long-time fan.
Combat
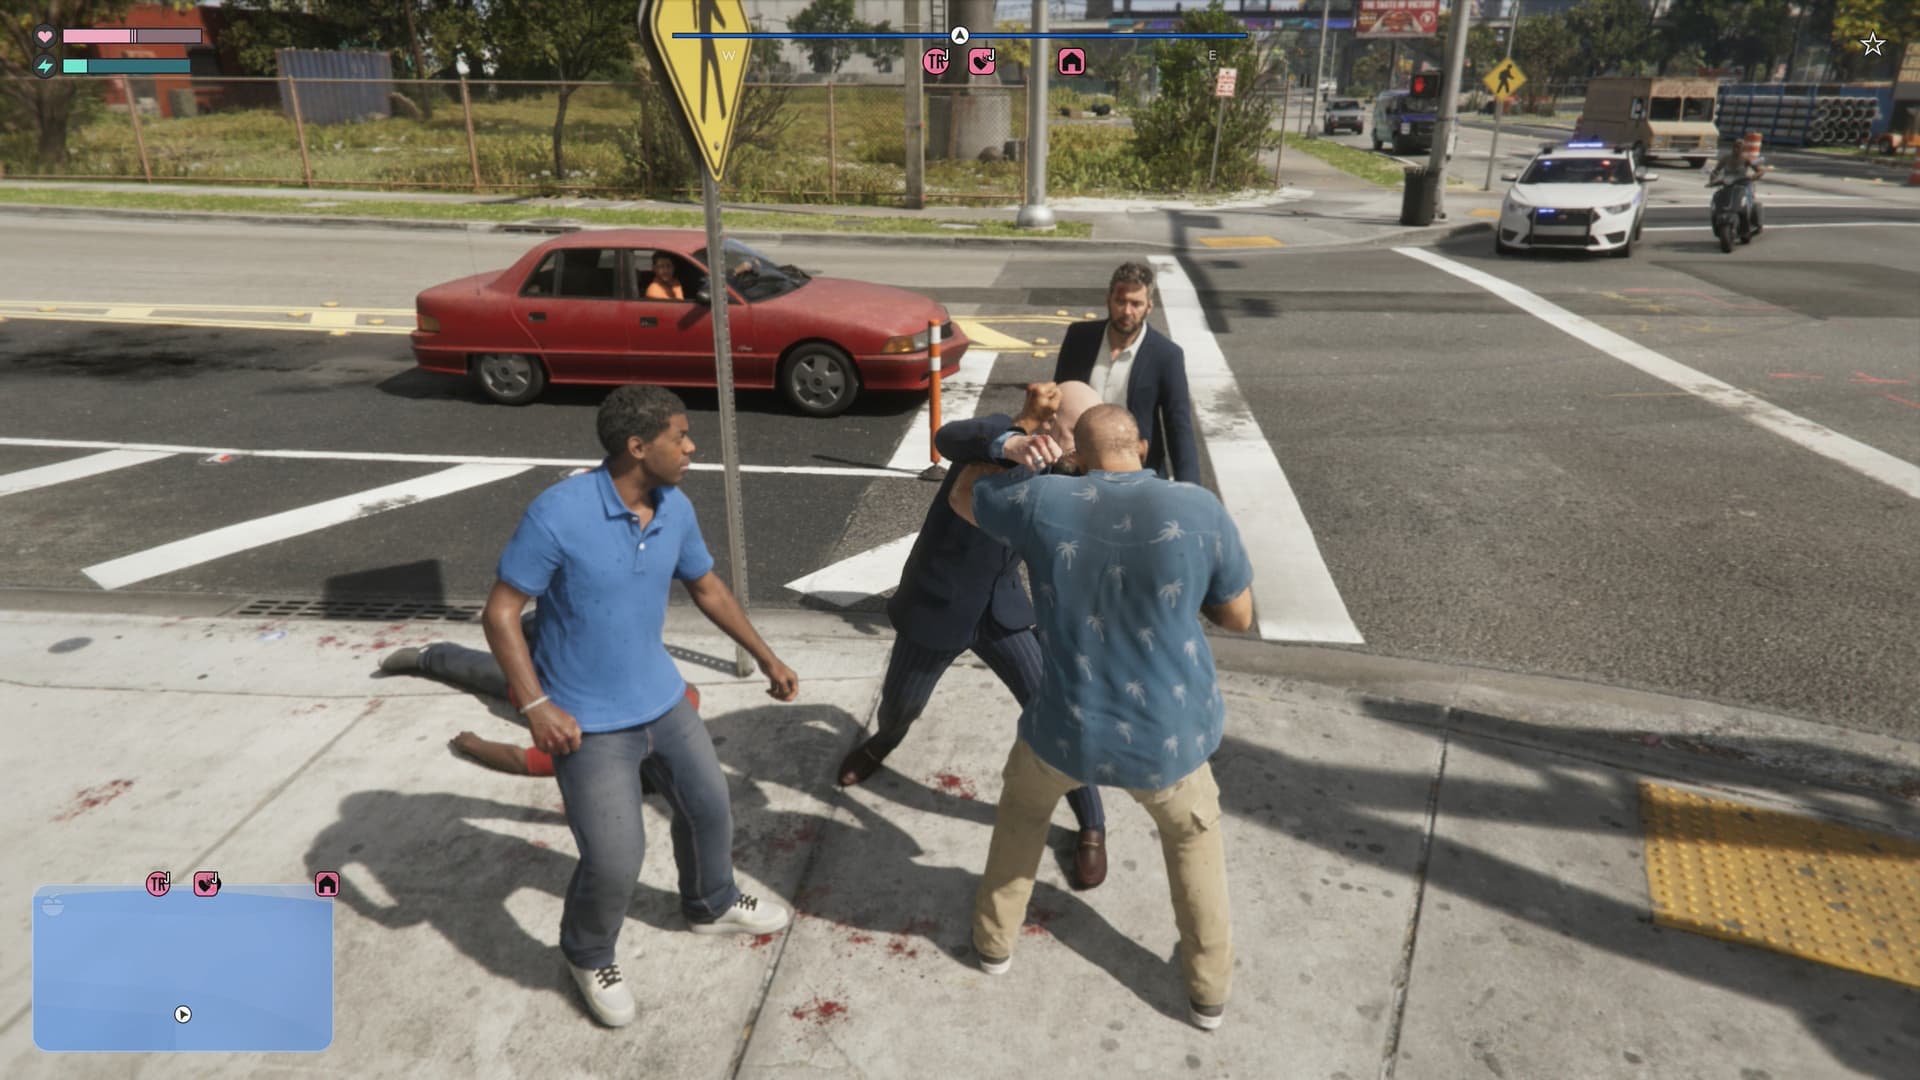
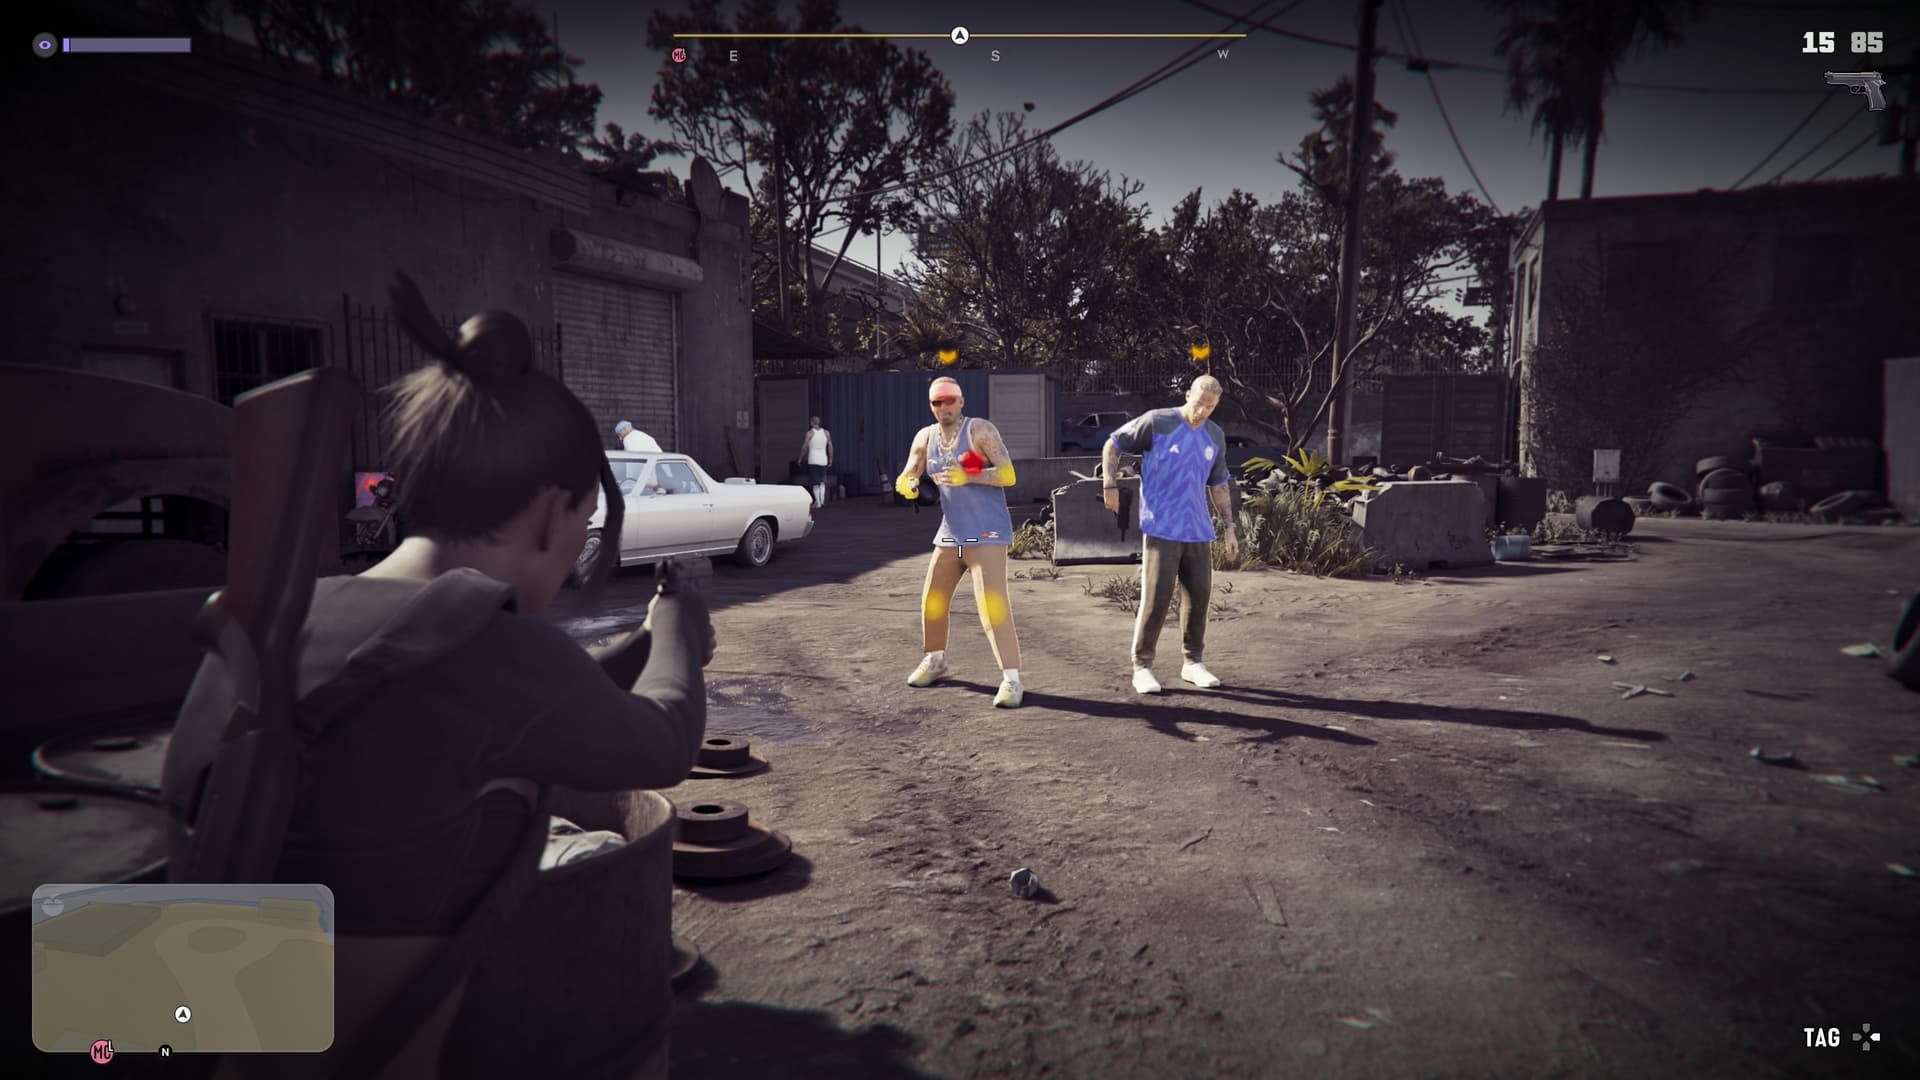
The color of the hit marker tells you what happened to the target:
- White — the enemy is hurt but still a threat
- Yellow — the enemy is incapacitated but alive
- Red — the enemy is dead or fatally wounded
How you deal with enemies shapes your character's Criminal Profile. Quiet, non-lethal takedowns push you toward Professional, while killing pushes you toward Violent and Psycho.
You can loot ammo, cash, vapes and drugs from bodies. An enemy you knock out won't get back up, but their allies will grow cautious if they spot the body, so it's best to move a body that's out in the open.
If a weapon has a scope, hold L2 / LT and click the right stick to switch views. Pressing left on the D-pad while aiming swaps the camera to the other shoulder, and Triangle / Y changes weapons without lowering your aim.
Melee
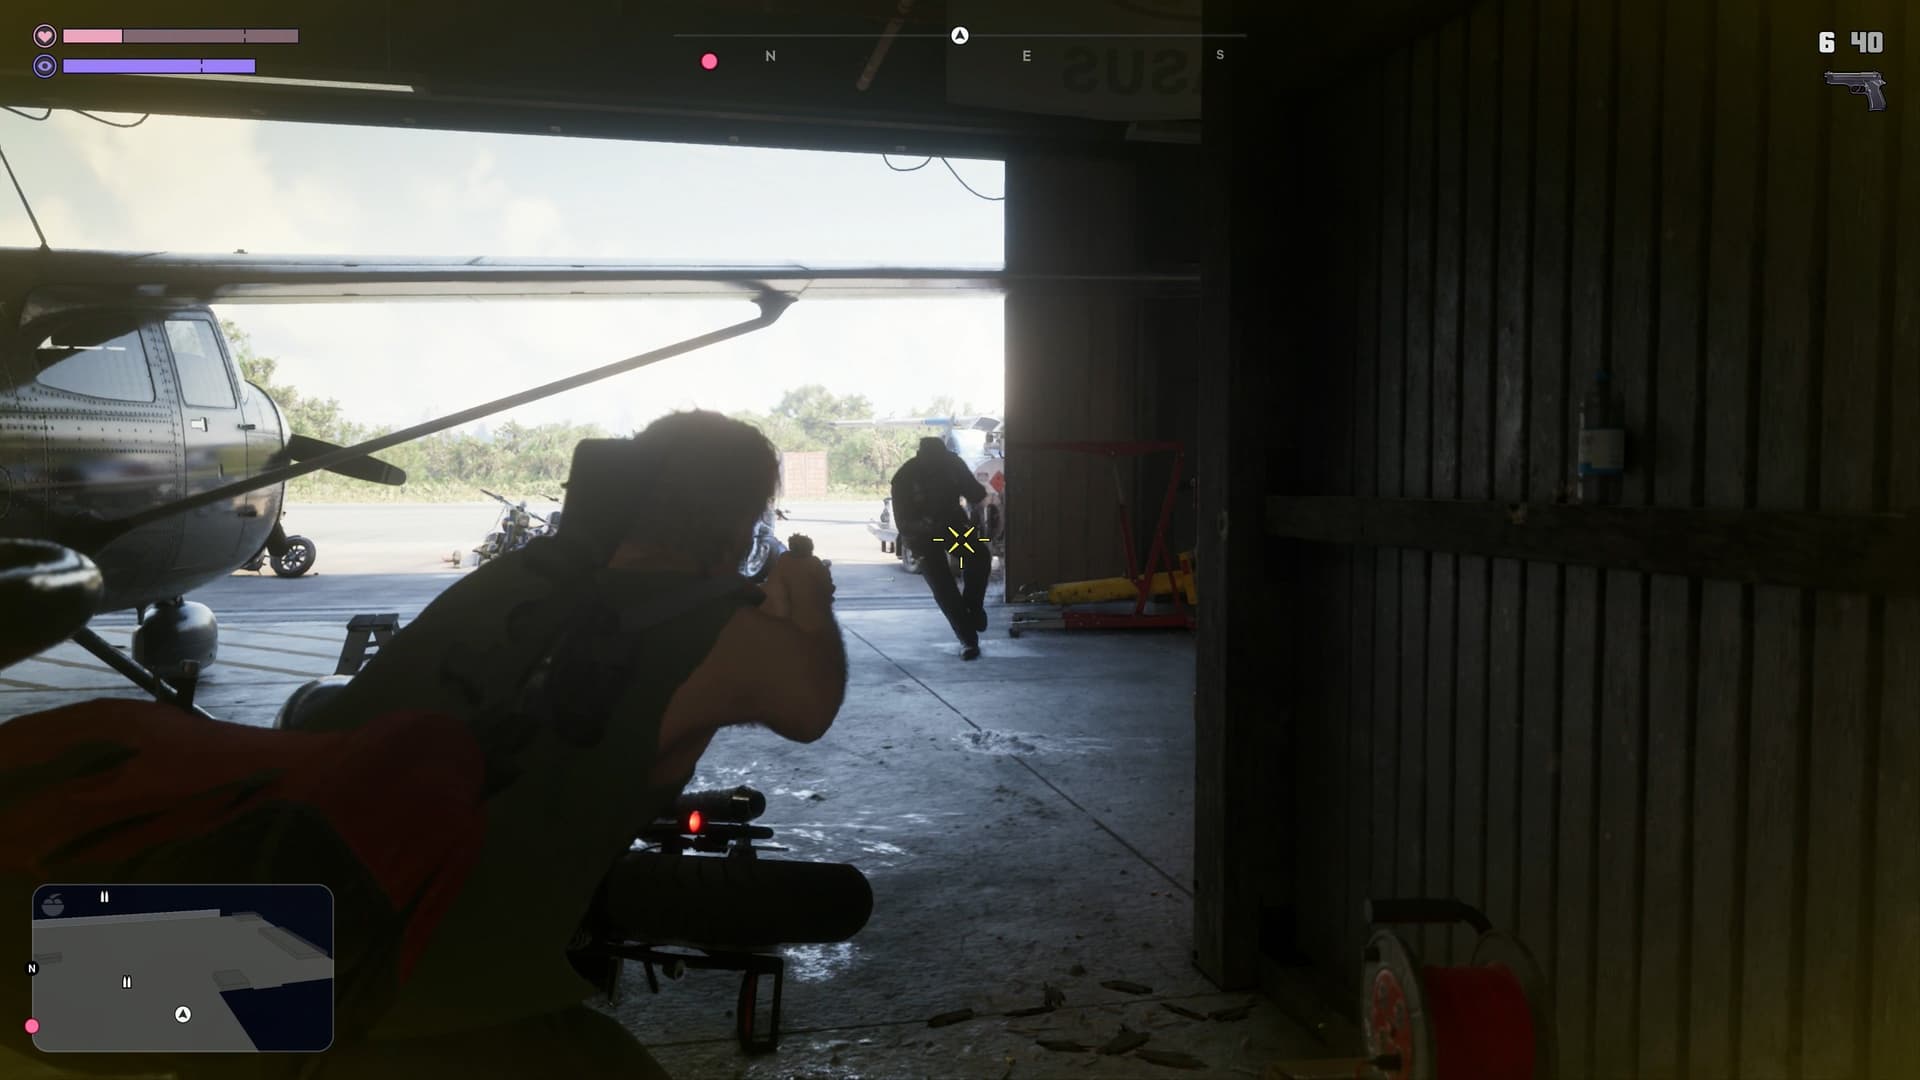
Out of combat, Square / X is a slap or a shove. Keep going, or let the other person get angry, and it turns into punches and kicks. In a fight, R2 / RT grabs your opponent: you can keep hitting them or throw them with another press.
A hit to the face can knock off glasses and hats, and that goes for both sides. Items you own return to your wardrobe, but pick up the ones you don't before you leave.
Healing and Stealth
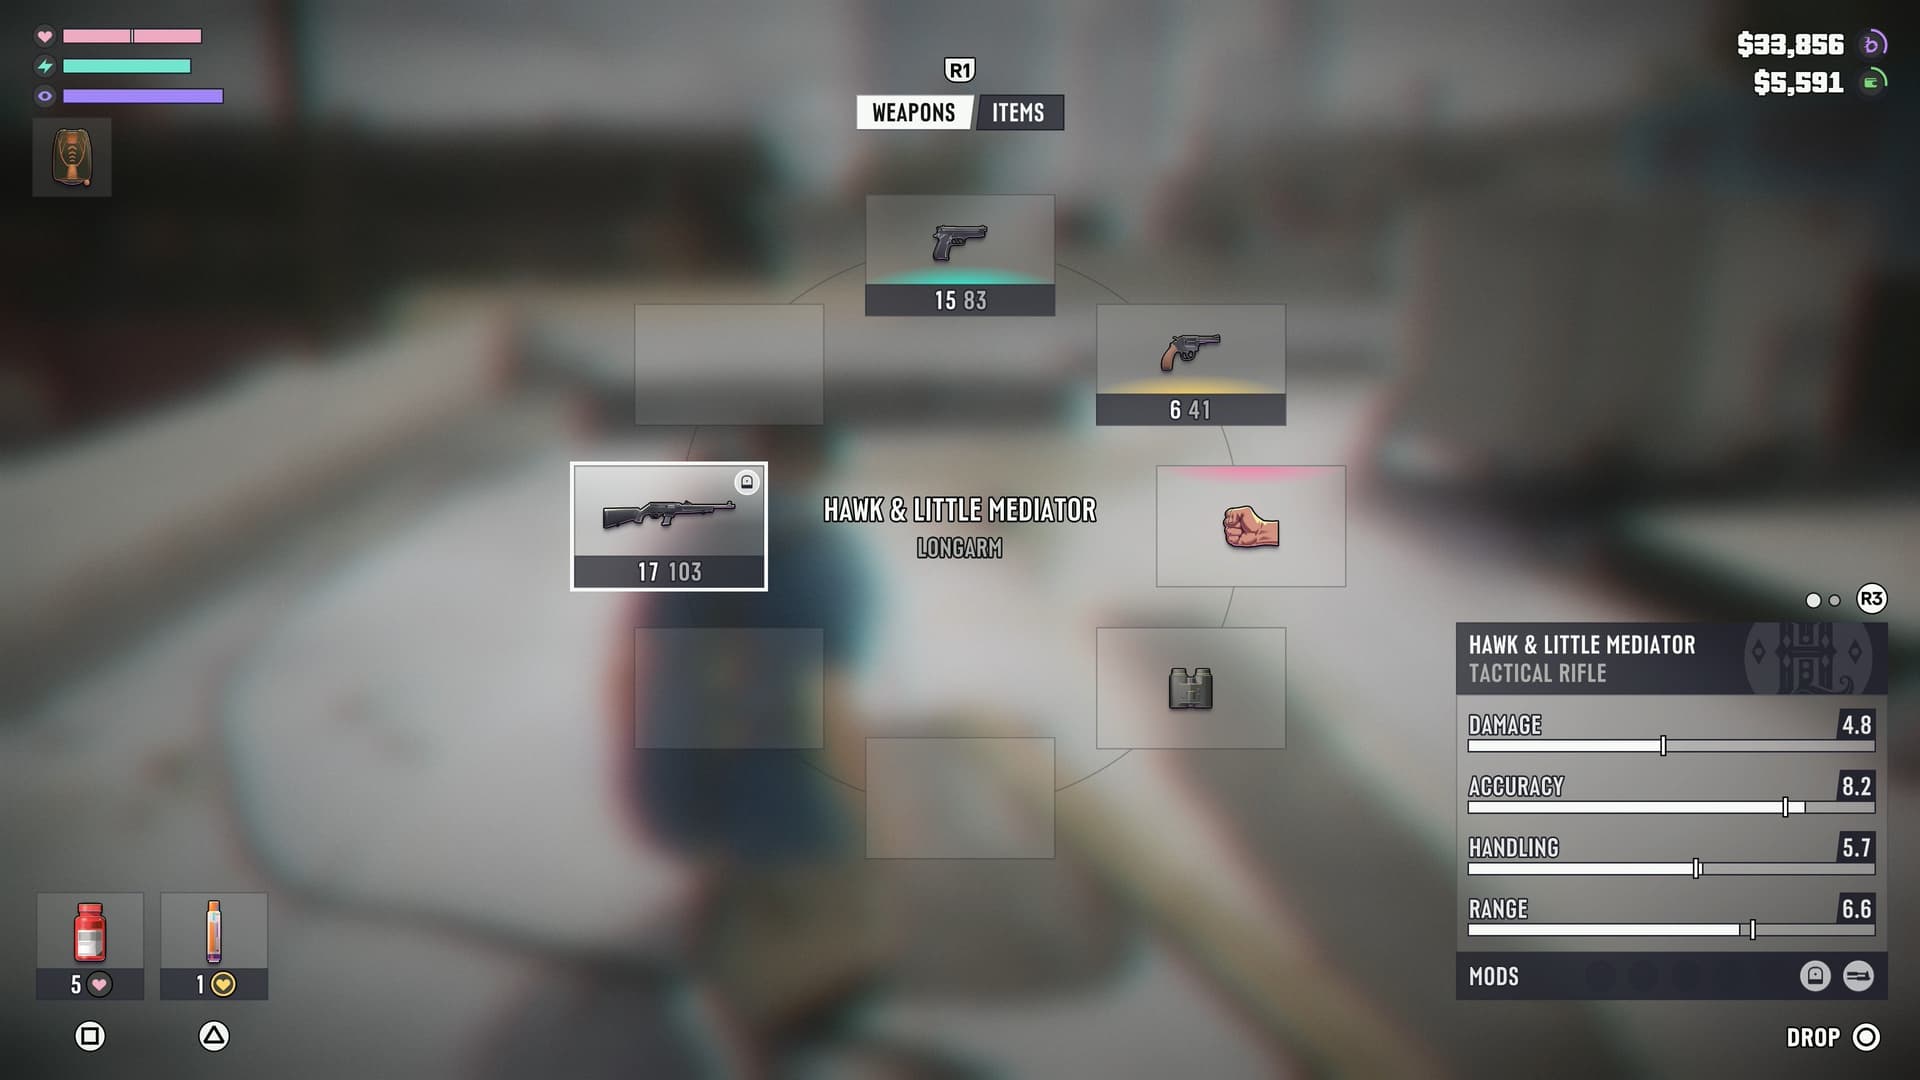
To heal mid-fight, hold L1 / LB and press Square / X to take Zombix pills. You can carry up to five, and they heal more the lower your health is. Triangle / Y in the same menu uses an Adrenaline Syringe, which instantly overfills all three stat bars.
You don't have to kill police or gang dogs: a shot into the ground next to them will scare them off. Rooftops are a good way into guarded compounds, since many buildings have open hatches.
You can carry only a few hundred rounds for each weapon. In a long gunfight, switch weapons or loot ammo from bodies, and ammo on the ground is picked up automatically.
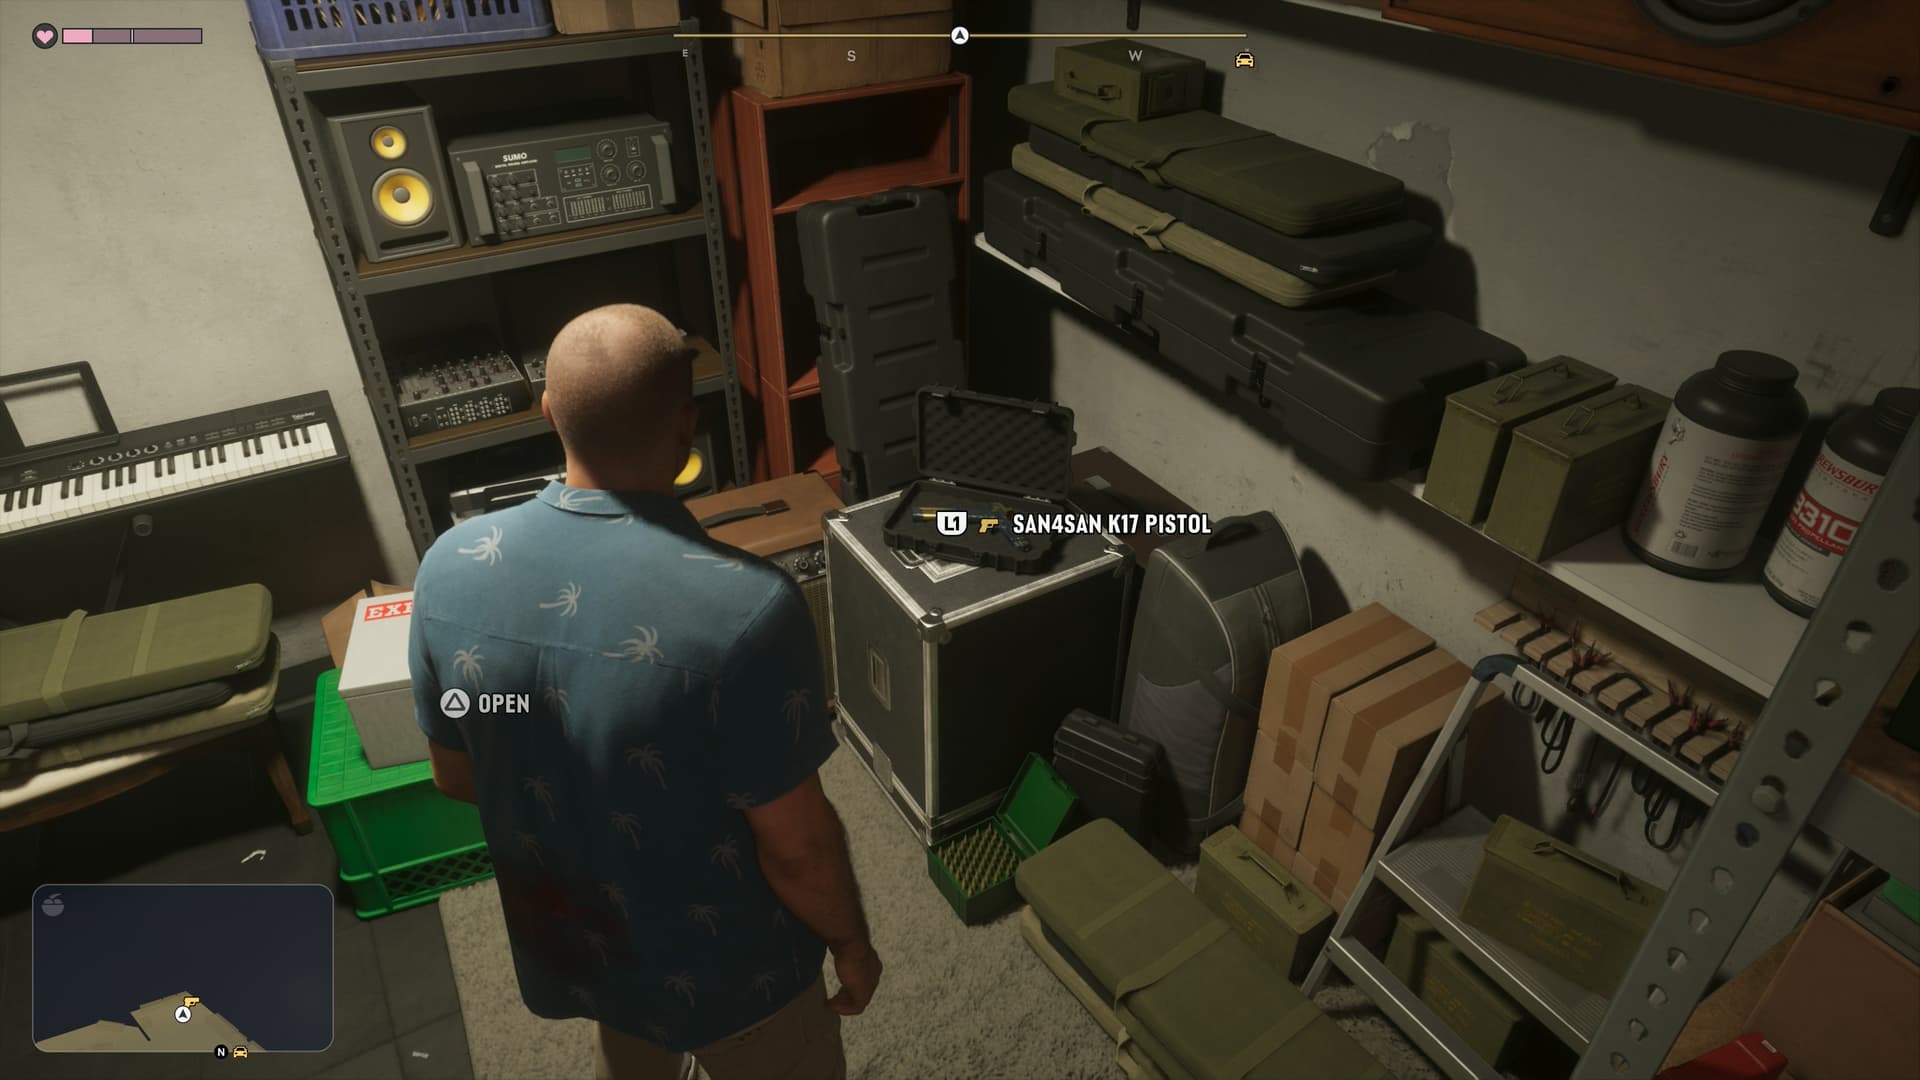
Weapons taken from enemies are unowned. You can use them as long as you have ammo, but you can't make them your own. They're gone for good if you drop them, quit the game or get busted, but you can keep them in the trunk of your personal vehicle. While you carry an unowned weapon, you can't use the Ammu-Nation weapon locker.
Weapons bought at Ammu-Nation are owned: you can take them for free from lockers at some Ammu-Nation stores and from your personal vehicle's trunk. Yellow weapons are Unique Weapon Variants. You'll find them out in the world or at Ammu-Nation, and they stay with you permanently once picked up. Everyday items like bats and hammers work in a fight too.
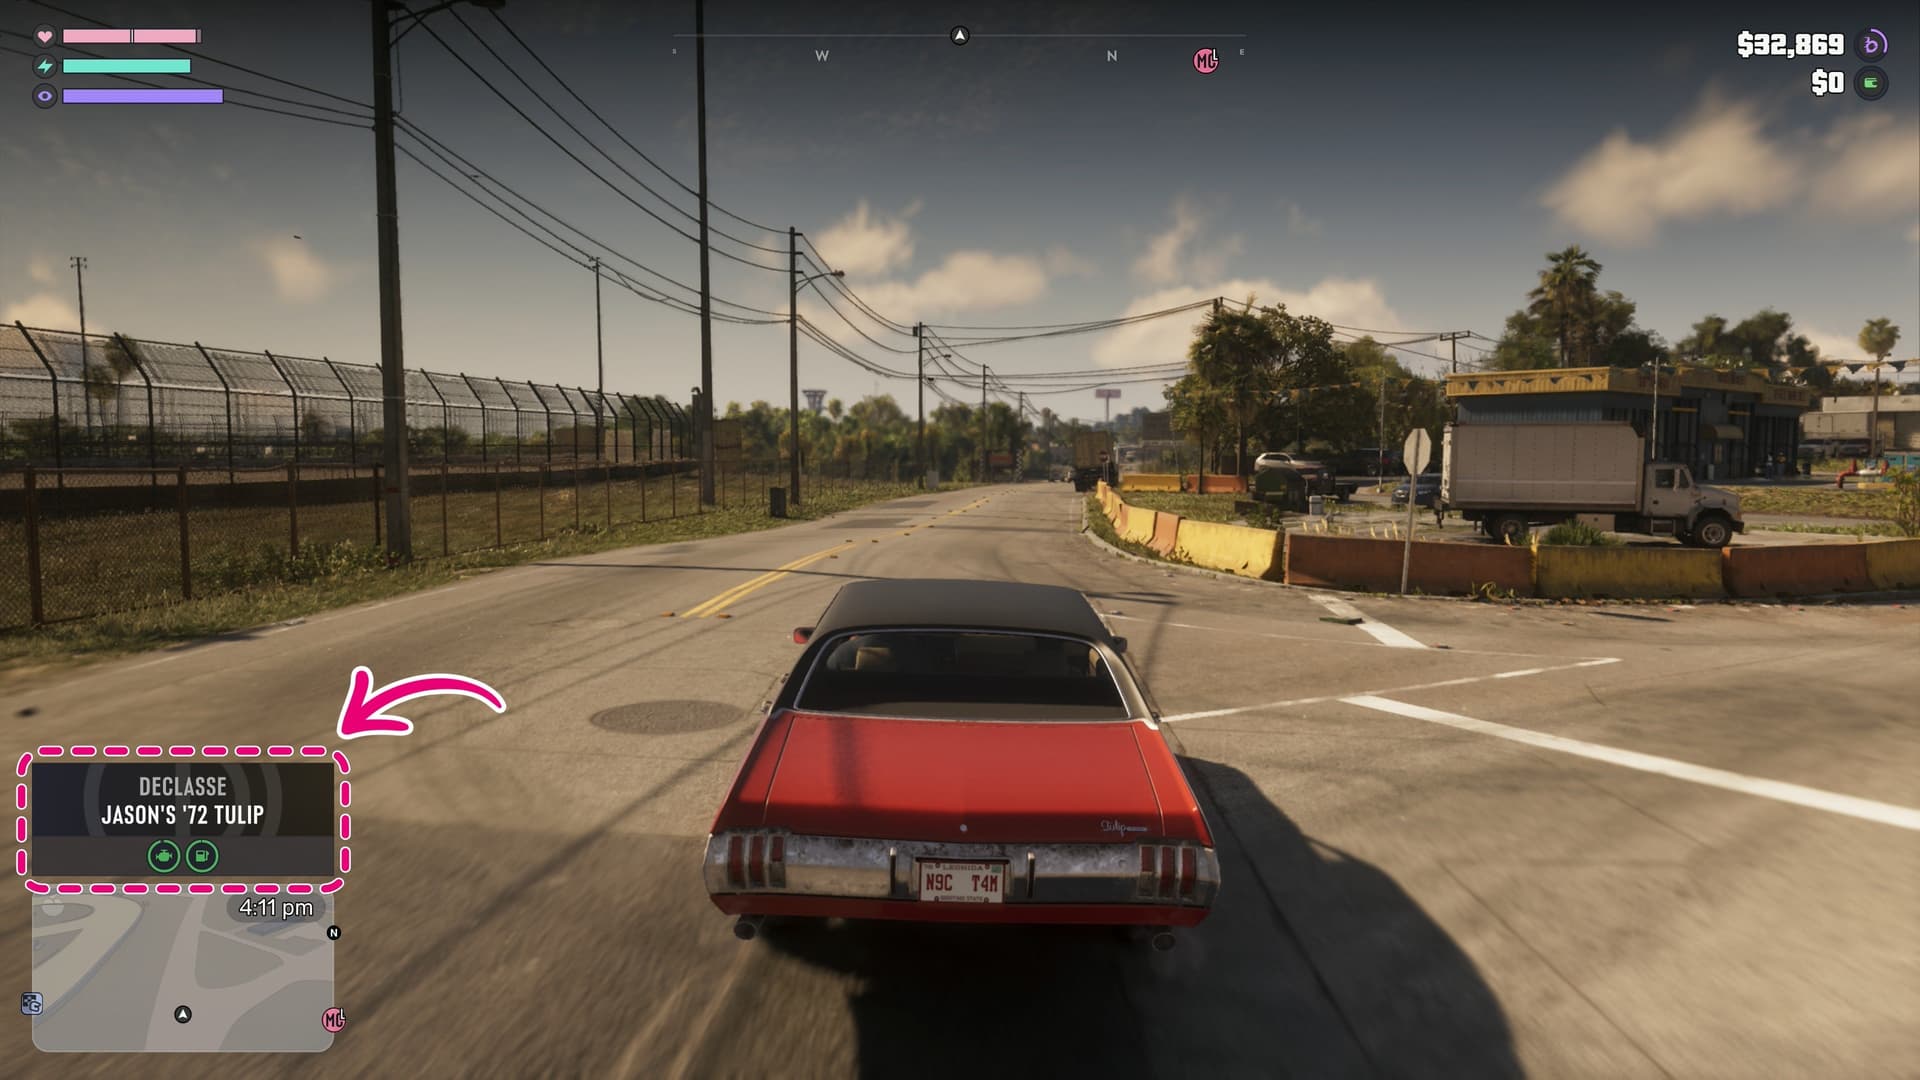
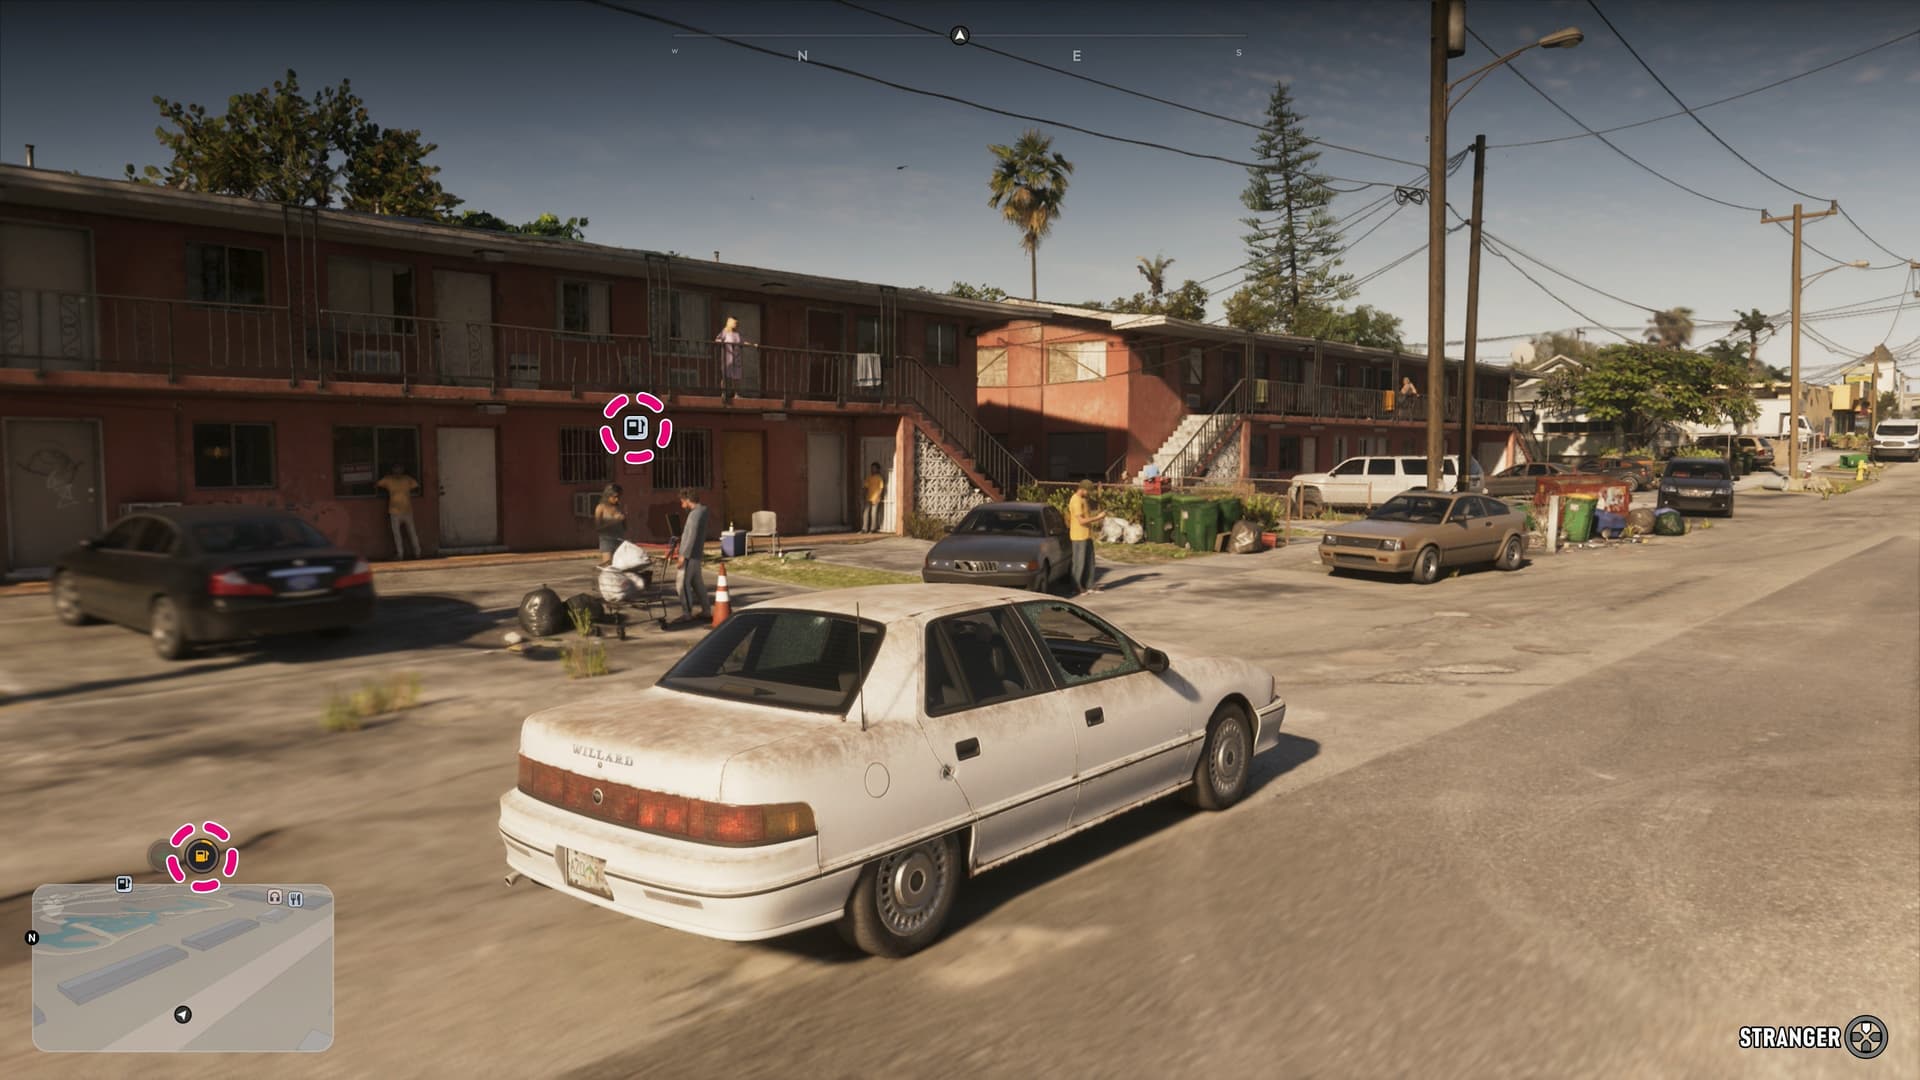
Vehicles now have a body condition meter, which works like a health bar. Press down on the D-pad while driving to see it above the map. Next to it is the fuel gauge: when you're running low, fill up at a gas pump. Electric vehicles need a charging station instead, but you'll rarely see them in the first hours.
Repairs
Pay and Spray repairs your vehicle and changes its paint. Mod shops, each working with certain types of vehicles, offer more customization and repairs as well. At a gas station, just stop by a pump and pick Services, then Repair. Every repair costs money, so drive carefully while you're short on cash.
Phone and Navigation
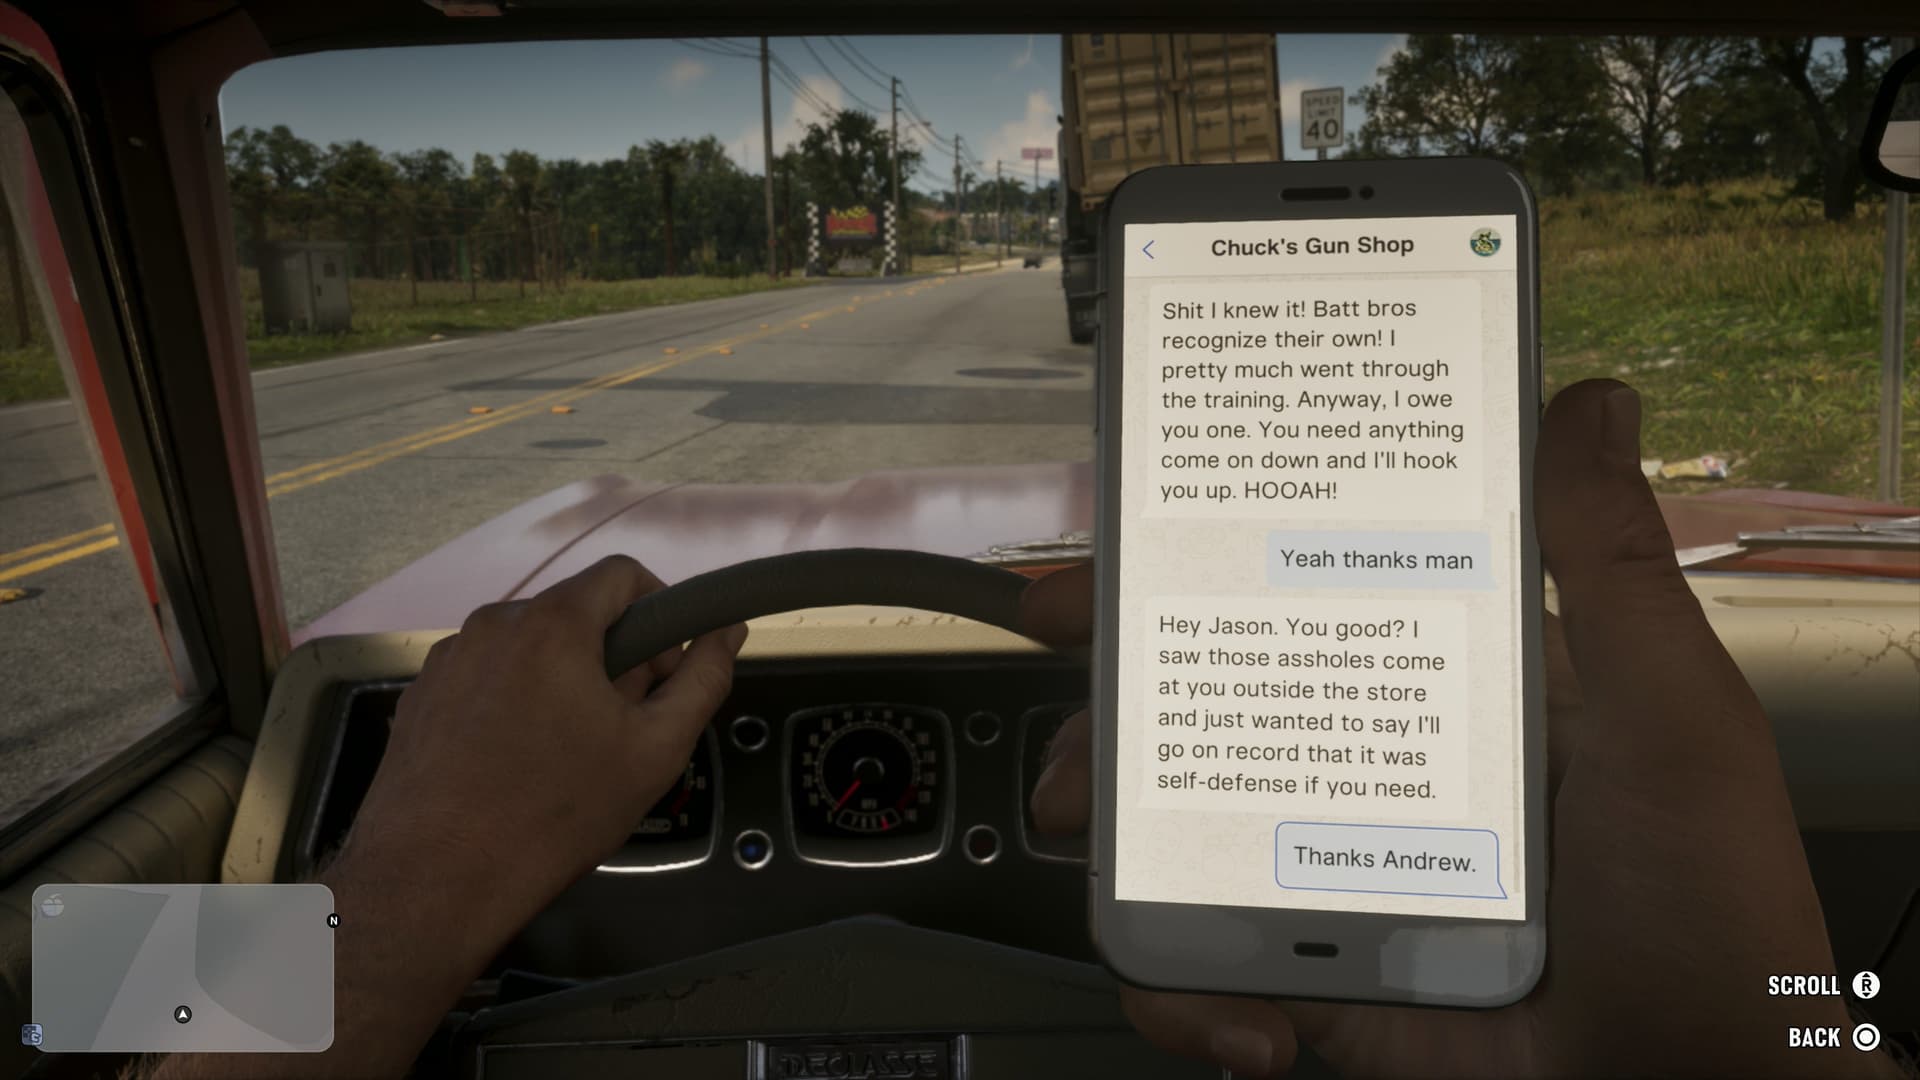
Pulling out your phone while driving switches to a first-person view and blurs the road. You keep control of the car, but it's easy to get distracted, especially when Cal sends you pics from the weekend. If a contact texts you a location, open the attachment and the GPS will plot the route. Voice directions can be set up in the Audio settings under GPS Voice.
If the car in front won't move, honk by clicking the left stick: the driver may pull away or get angry and come after you. Left or right on the D-pad turns on a turn signal. It switches off on its own and doesn't affect anything.
Your Own Vehicles
You can steal any vehicle, but Jason's house in Key Lento has no room for extra ones: more storage opens up in Chapter 2 after you meet Moses. There are no vehicle fences in Chapter 1 either, so steal a car only for a ride or a getaway.
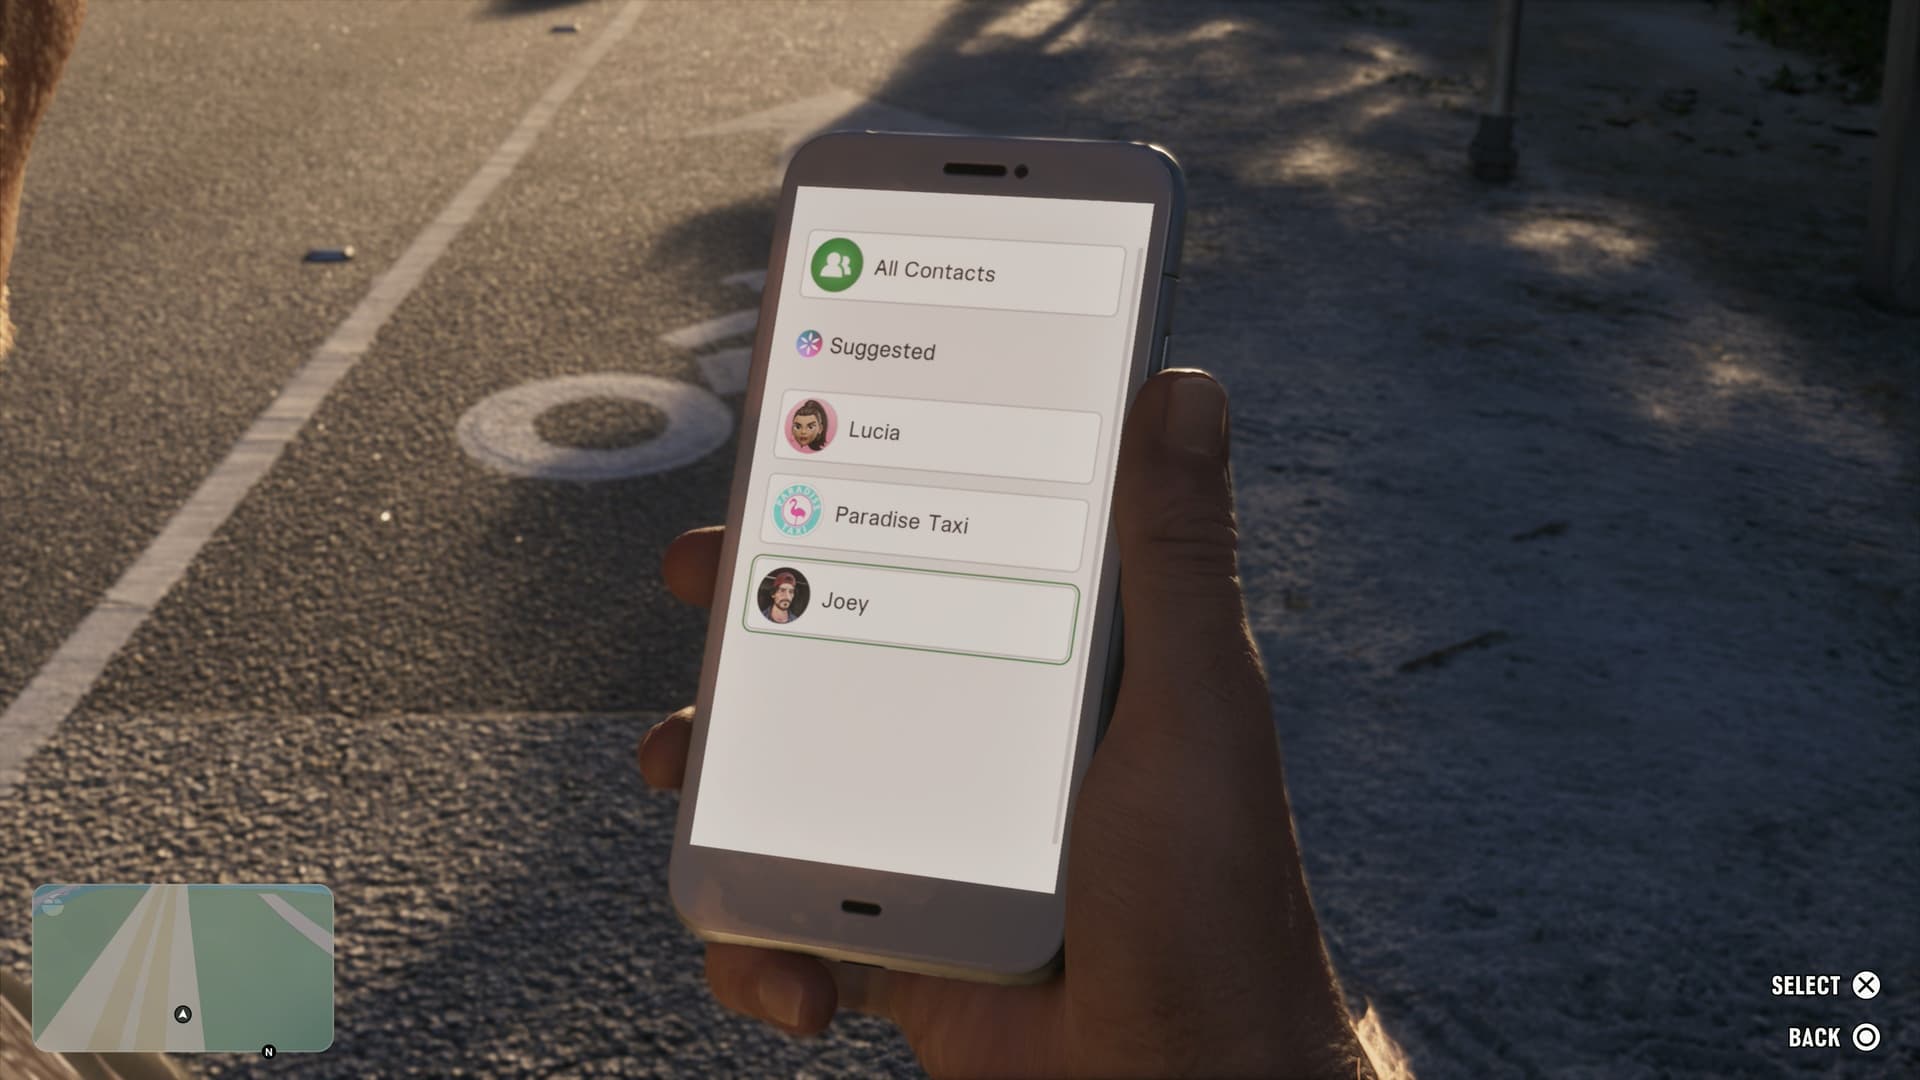
Jason's house comes with his Ganado, a Dinka Enduro motorcycle under the house (Ultimate Edition only) and a Bombora S23 CCS boat at the dock. After the mission Just a Scratch, you can call Joey, and he'll bring your car to you in seconds.
On the Road
Tolls cost $5, but you don't pay in a stolen car or a friend's car. Buildings you can enter are outlined on the minimap and on the full map when you zoom in.
Keep a spare outfit in your trunk in case the police recognize your clothes: in a wardrobe, open the Outfits tab and press Square / X. You can change straight from your car or at the trunk: open the weapon wheel, press R1 / RB, pick the hanger icon and press Cross / A on the outfit you want.
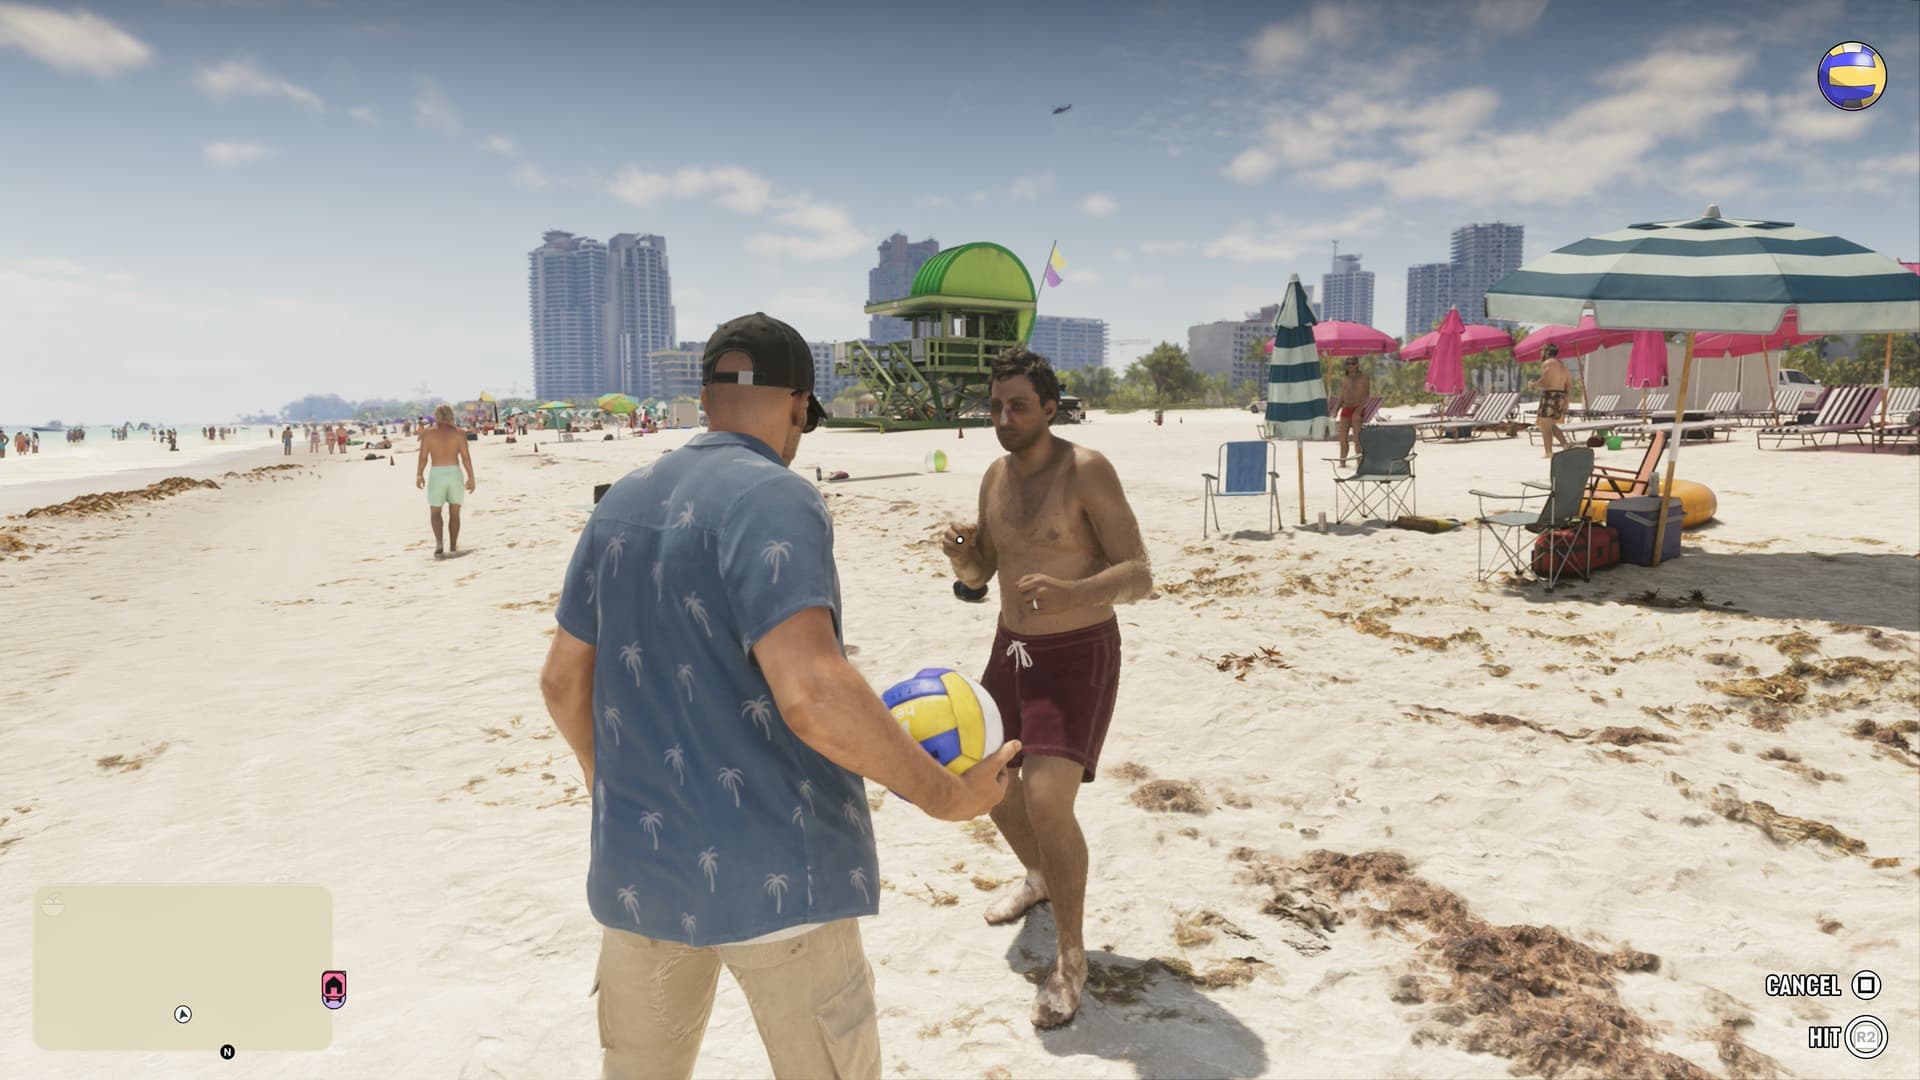
Car washes and drive-thrus work, for example at Taco Bomb. Lifeguard huts on Vice Beach sometimes hold a volleyball you can throw at people. And if someone pulls out a phone to call the cops, knock it away with Square / X, though with a crowd of witnesses someone will still make the call.
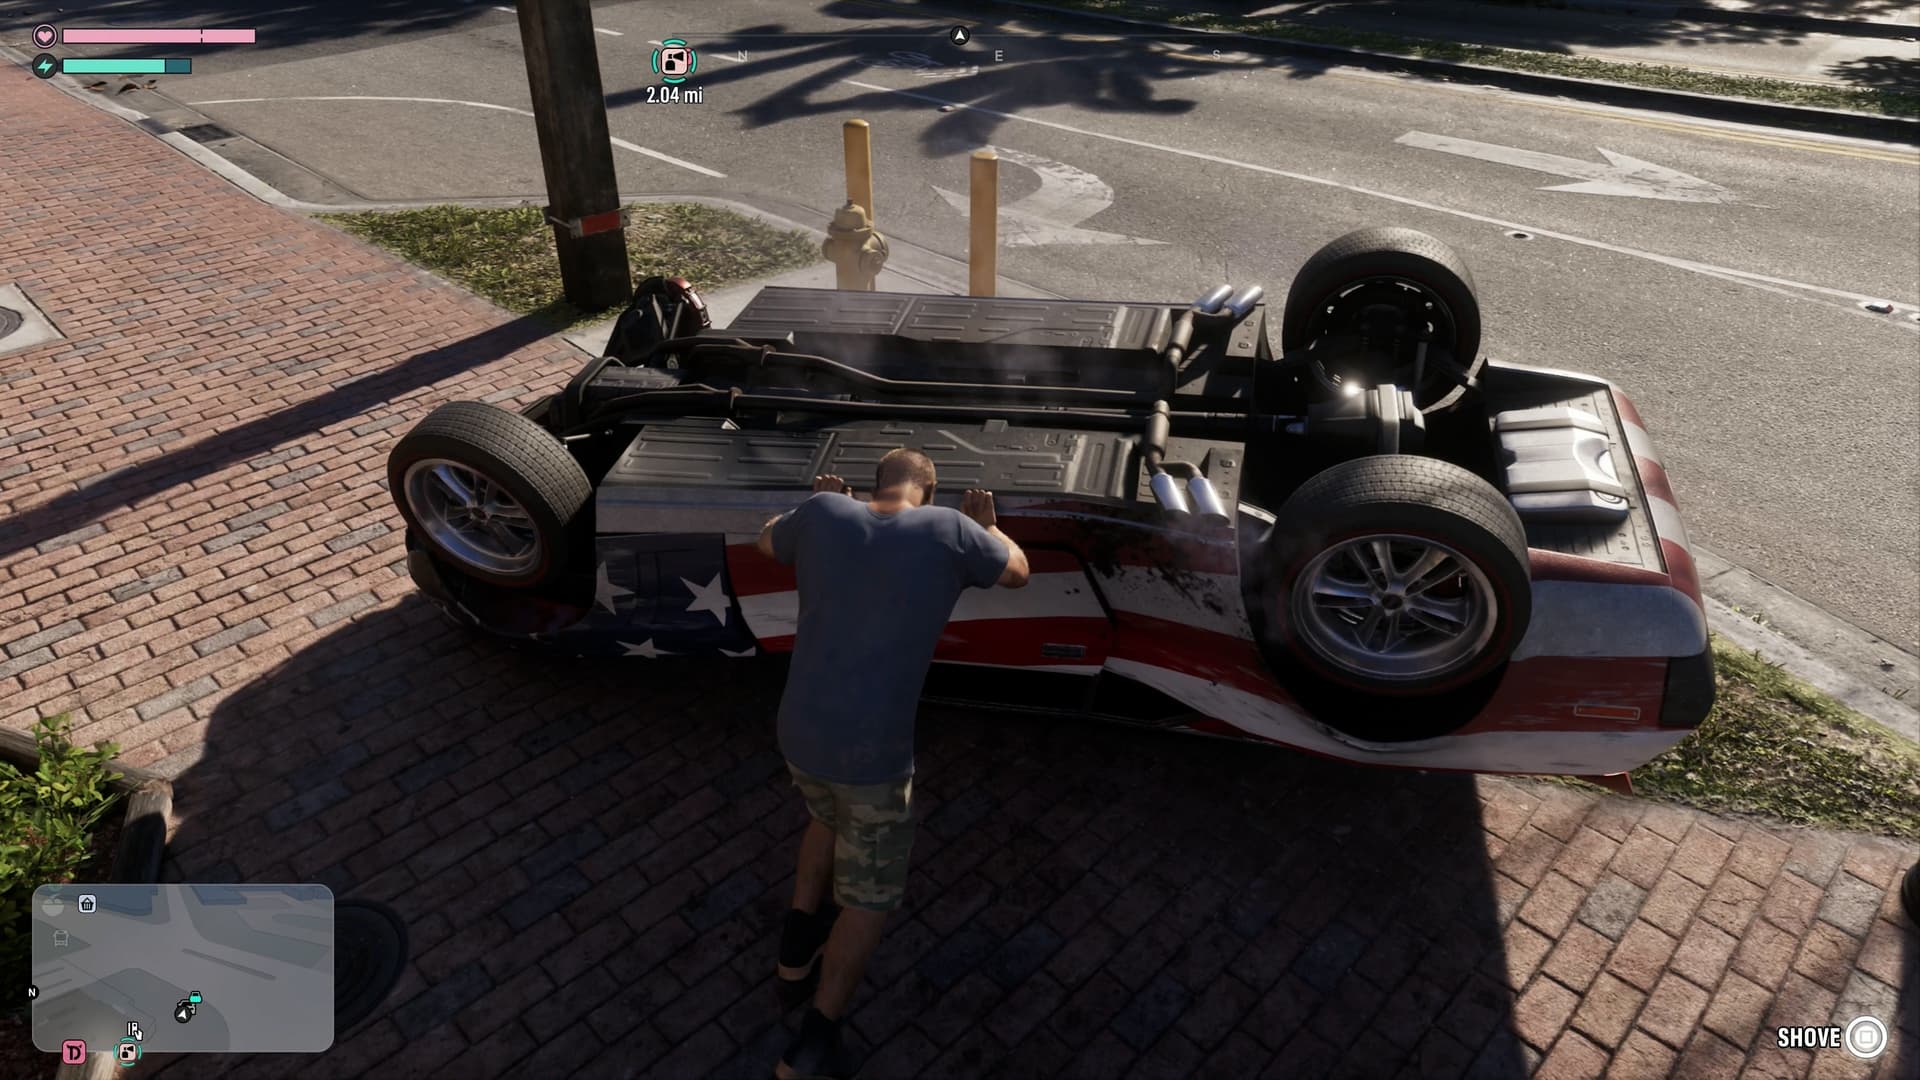
Get out and walk into the car, pushing the left stick toward it: a light car will roll back over on its own. For a heavier one, hold Square / X for a strong shove. If that doesn't work, push from the other side or hit it with another vehicle. The same trick works on a small boat stuck on the shore.
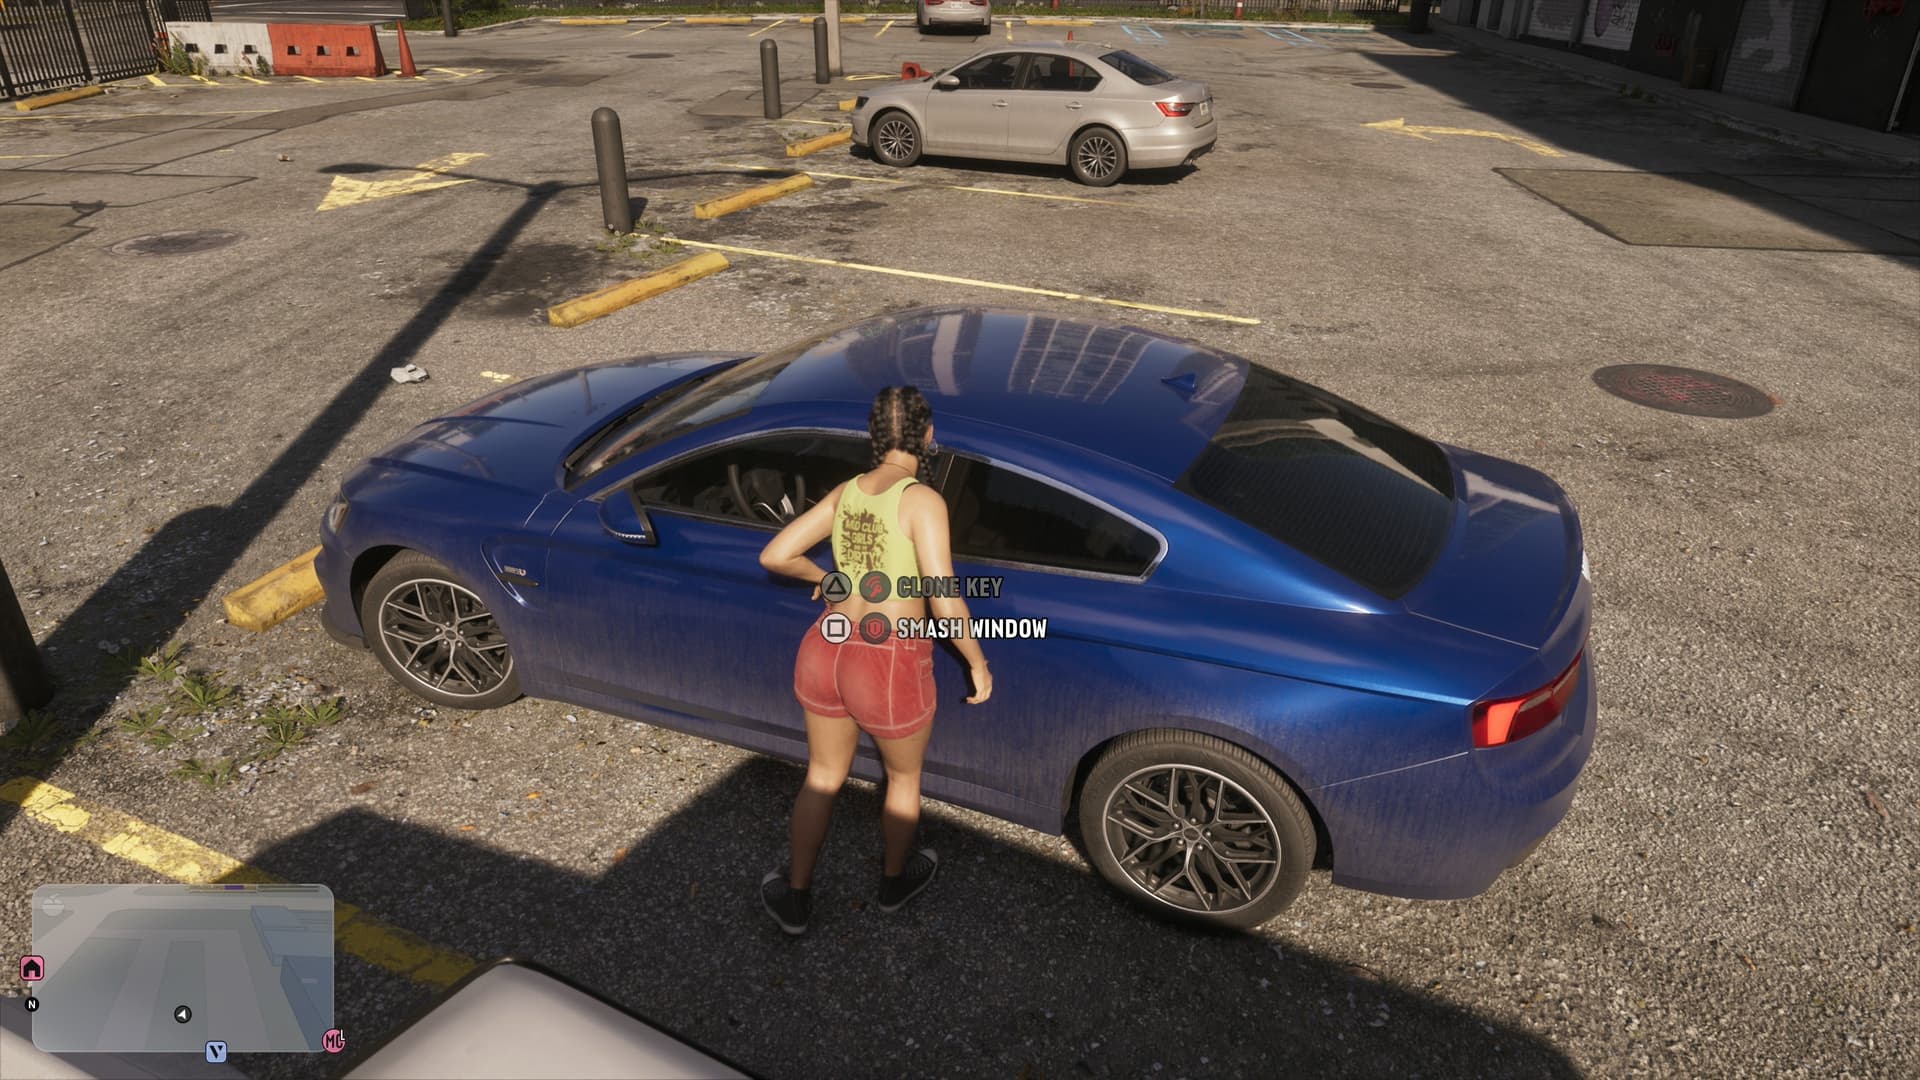
Early on, you have no tools to break into cars quietly, so a theft will likely be reported: be ready to drive off fast. If the stolen car is low on fuel, fill up or switch cars.
Newer and more expensive cars only open with an electronic key. A key cloner comes later in the story, and until then the easiest way to get one of these cars is to pull the driver out. These cars carry trackers you can't disable, and an advanced tracker reports you to the police if you stay in one place too long.
Older cars are hotwired in a minigame: use both sticks to find the spot in the highlighted arc until both meters fill up. The spots are usually mirrored, so move the sticks symmetrically.
Where to sell stolen cars and which ones pay the most is covered in our guide to stealing and selling cars.
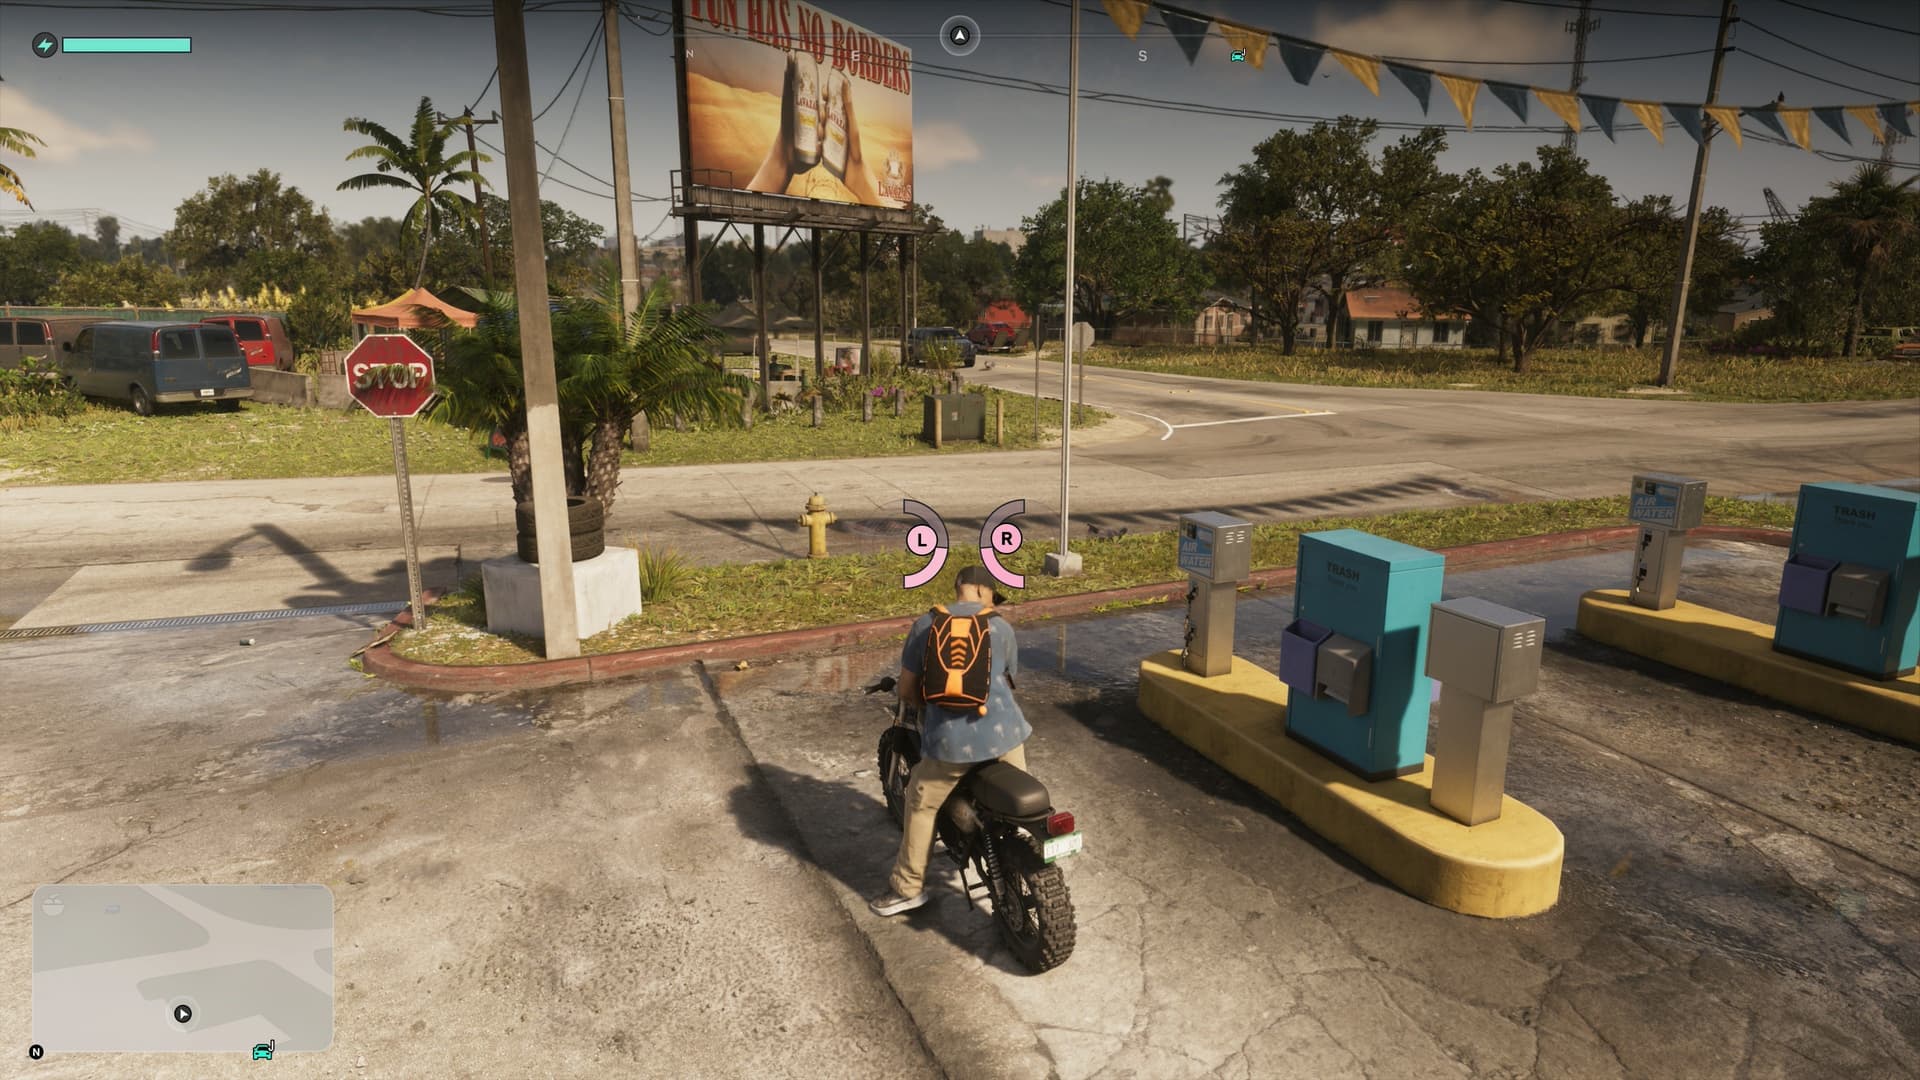
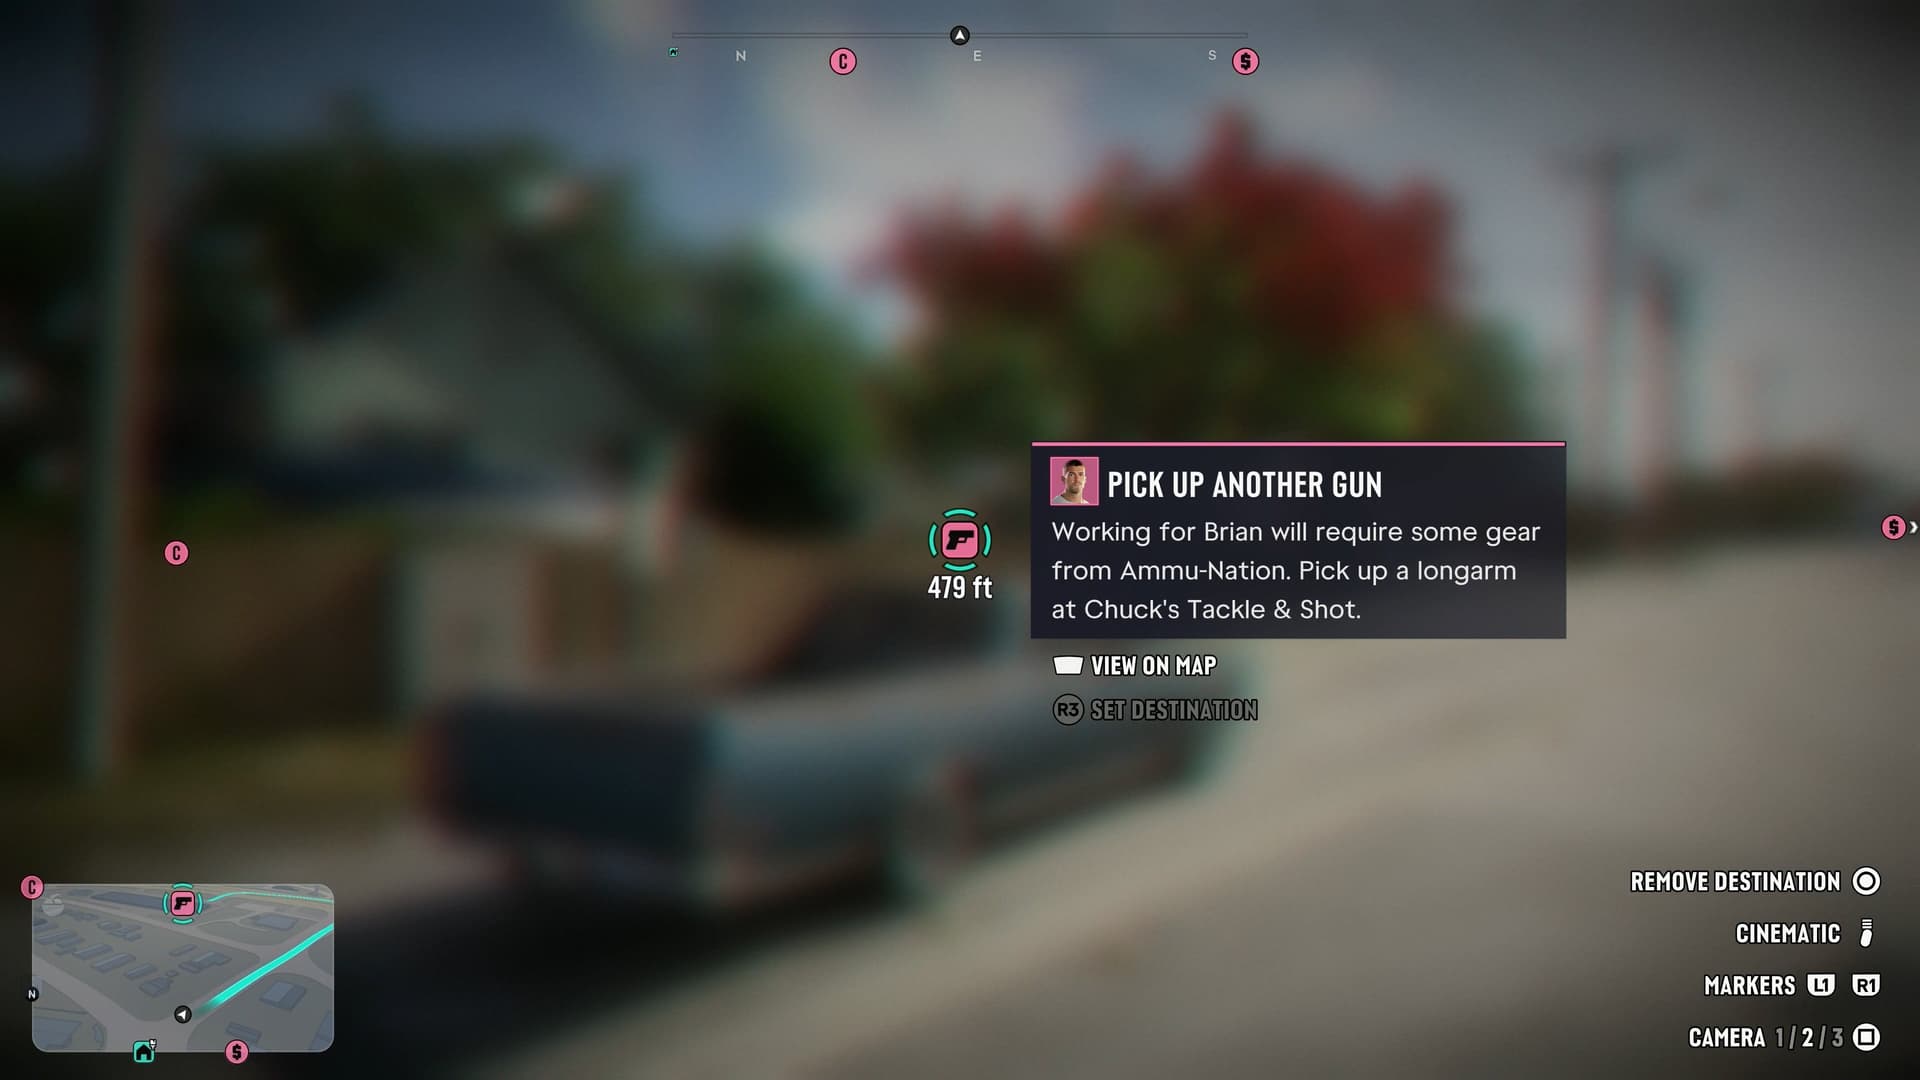
Hold down on the D-pad to slow down time and see nearby activities and landmarks on the map. Click the right stick to set a waypoint without opening the map.
If you die or get busted, you lose all the cash you're carrying. Until you have a bank account, keep extra money in your safehouse stash. Once the story gives you a BuckMe account, move your money there: you only lose a little from it when you die or get arrested, both characters share it, and the deposit limit grows as the story goes on. More in our money guide.
Click the left stick to change your movement speed, and Cross / A to jump. Controls can be remapped in the settings.
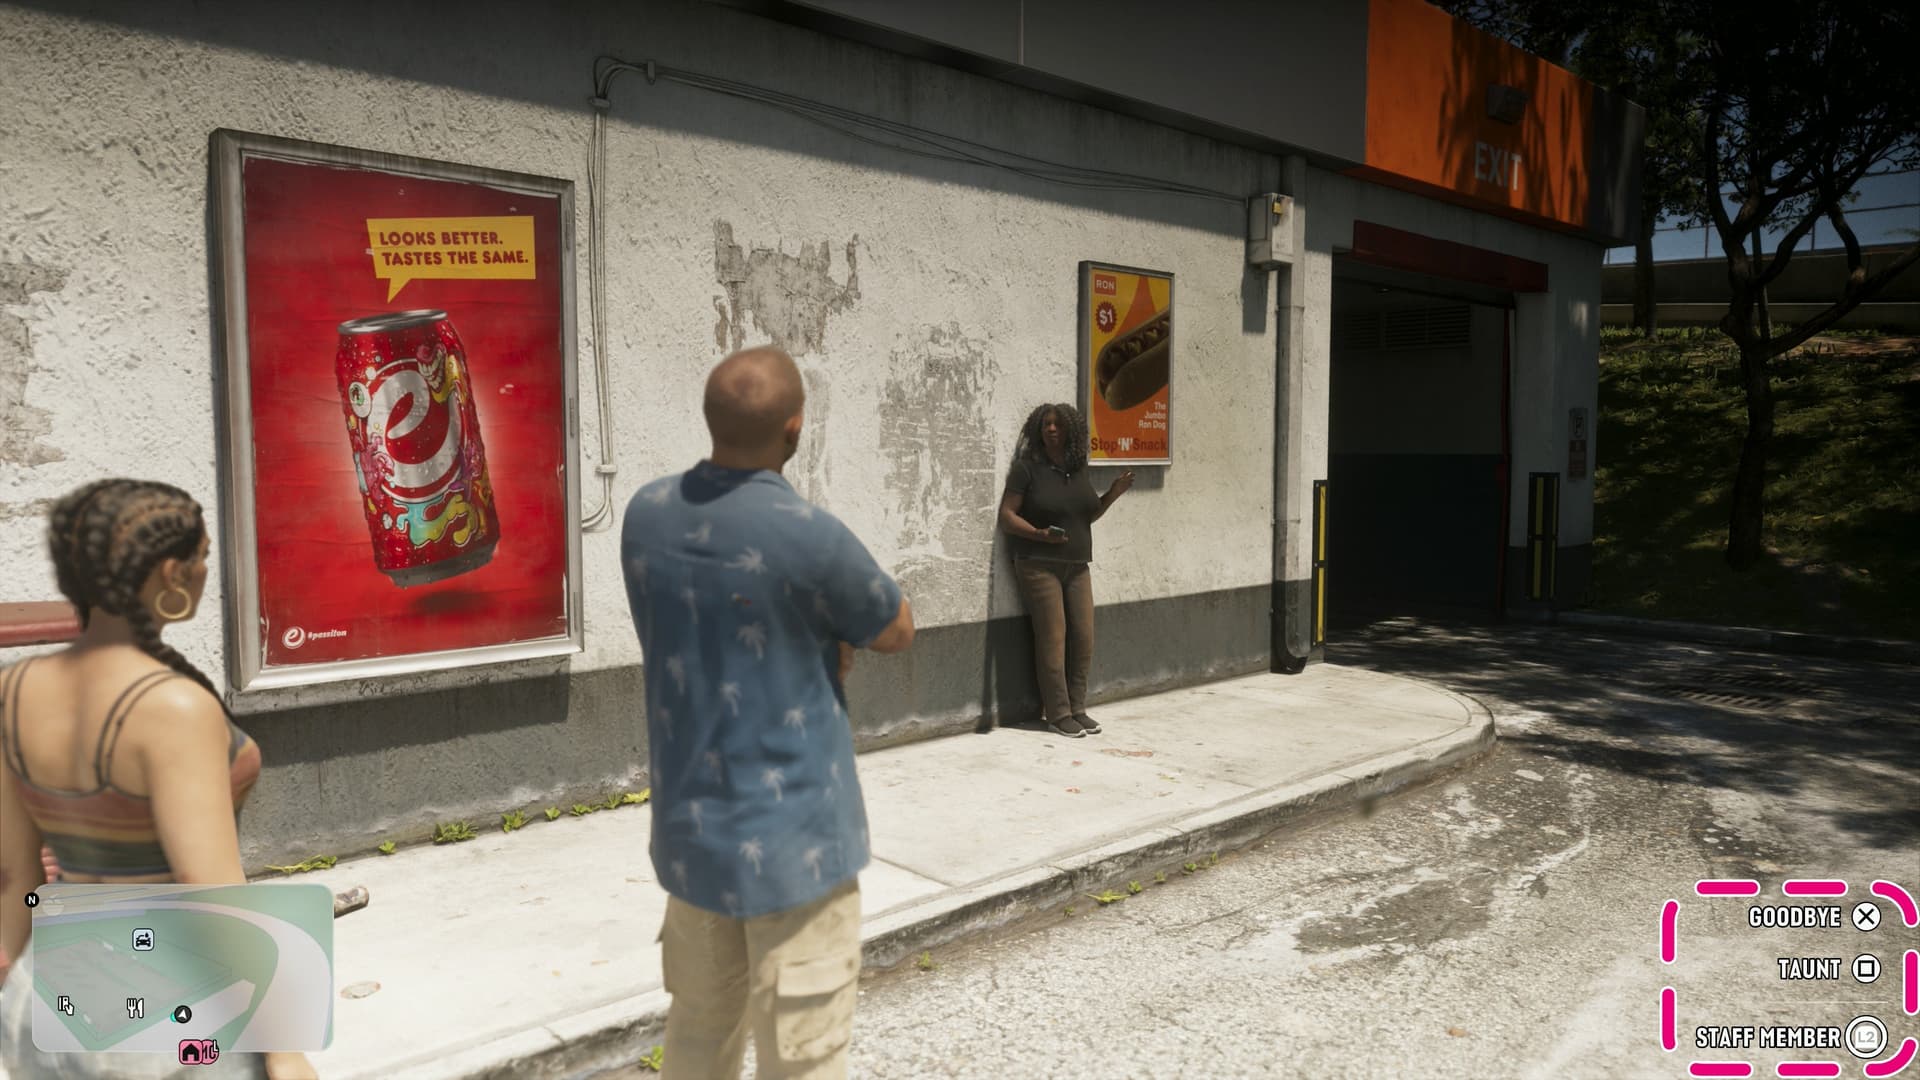
If someone walks up to you or something is happening nearby, press L2 / LT to interact. Look at a person with L2 / LT and hold R1 / RB, and your character will flip them off. How they react depends on who they are.
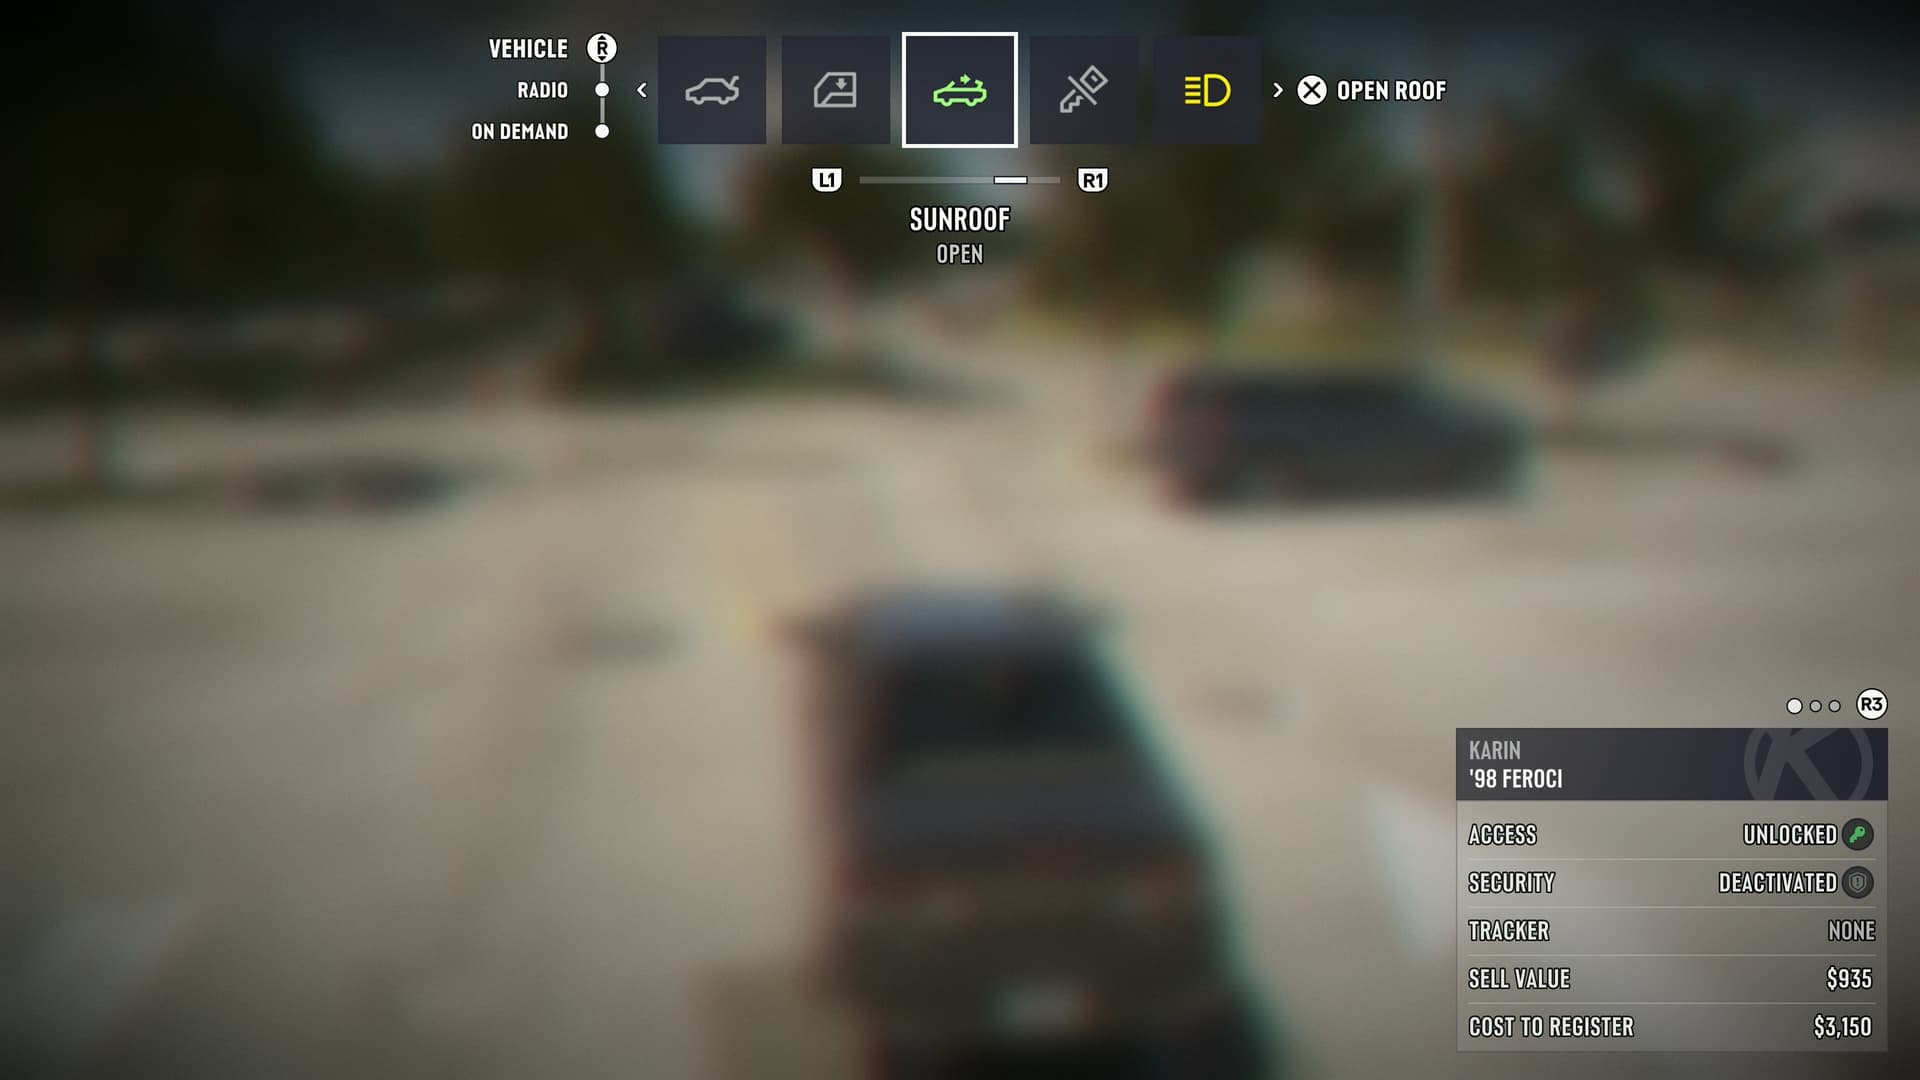
Hold left on the D-pad while driving or wearing headphones to open the radio menu. In a car, pushing the right stick up opens vehicle controls: headlights, trunk and more.
Garage sale signs and loud noises often lead to random encounters, and if you can't tell where a sound is coming from, use Focus. Call your friends now and then: sometimes they have something to say. Stay off private property, though: owners will yell, call the cops or throw you out.
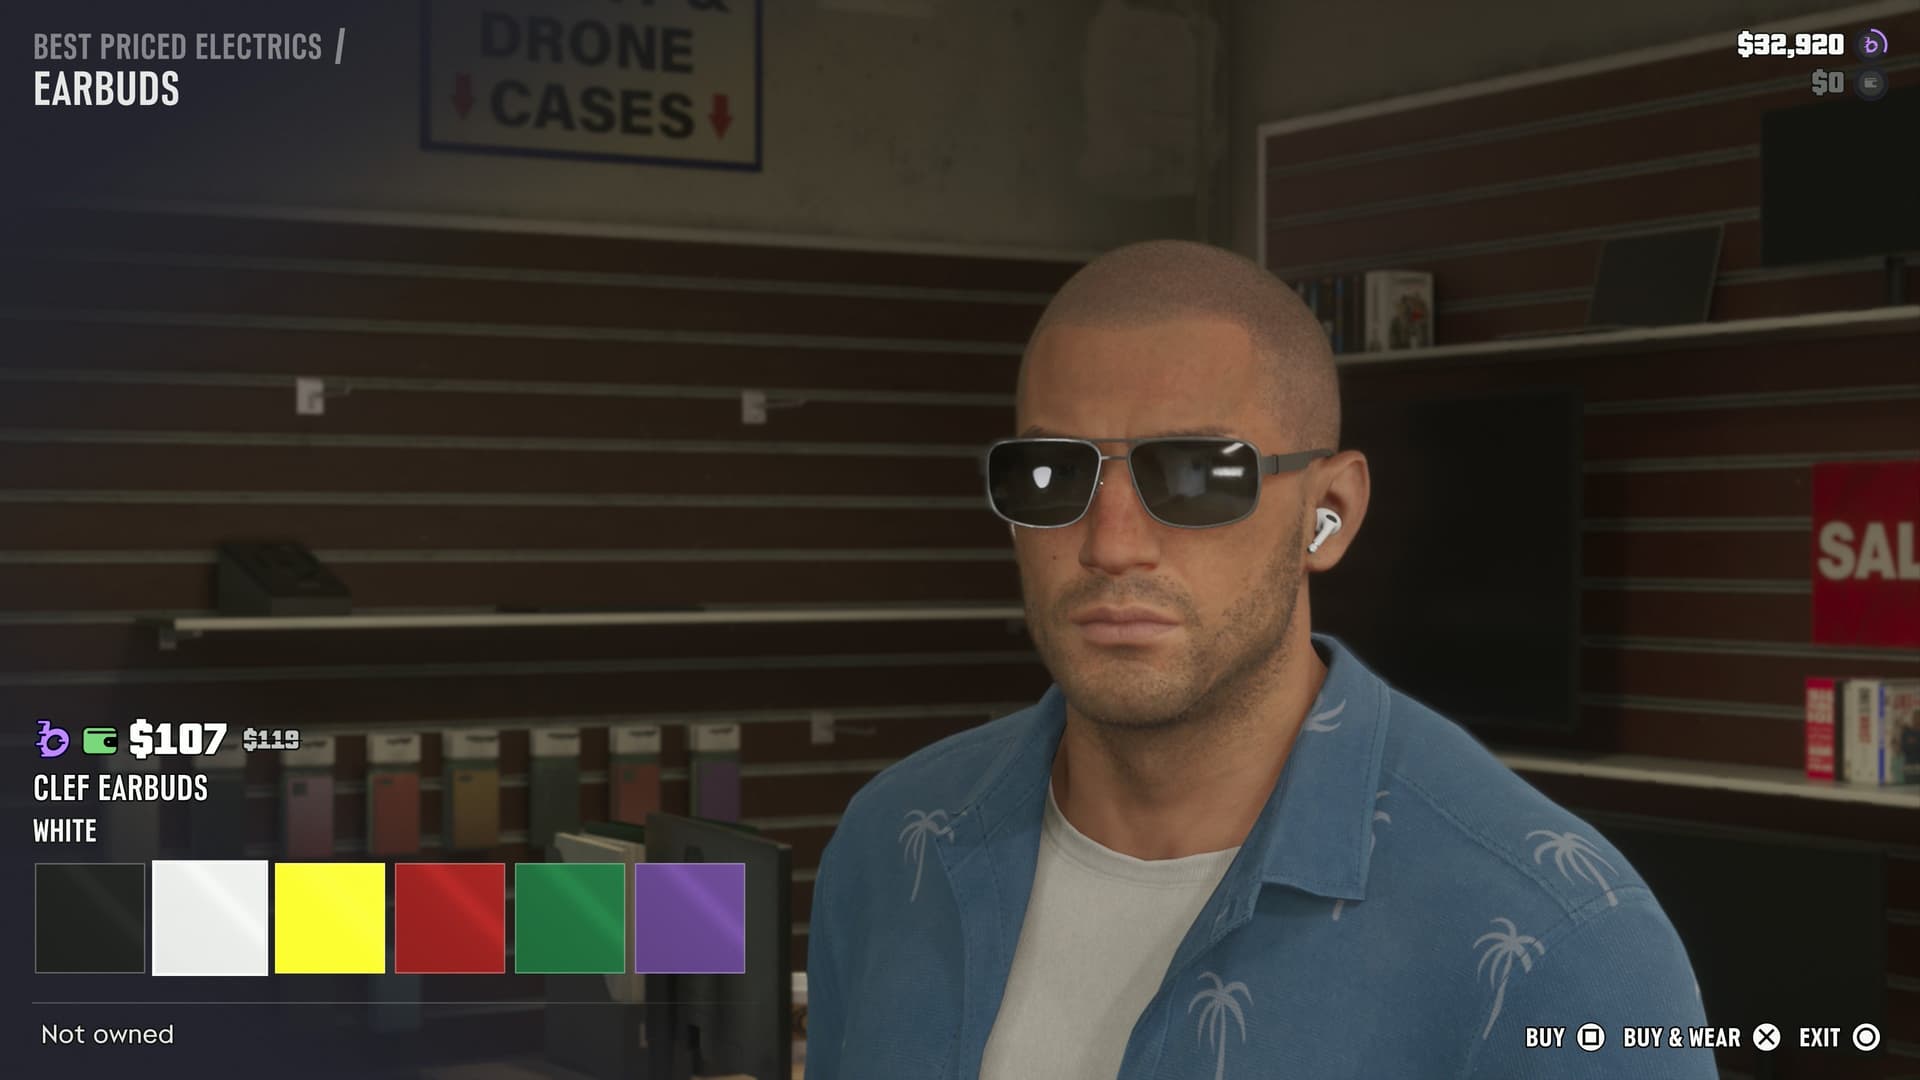
Stores sell pet snacks to feed friendly animals or distract guard dogs. Electronics stores sell headphones so the characters can listen to music on the go and at home. Rob a clothing store and you can steal a temporary outfit for a getaway, but it's gone once you change.
Mirrors let you change your hairstyle, Jason's facial hair and Lucia's makeup. For a longer hairstyle than the current one, visit a salon.
Search Zone
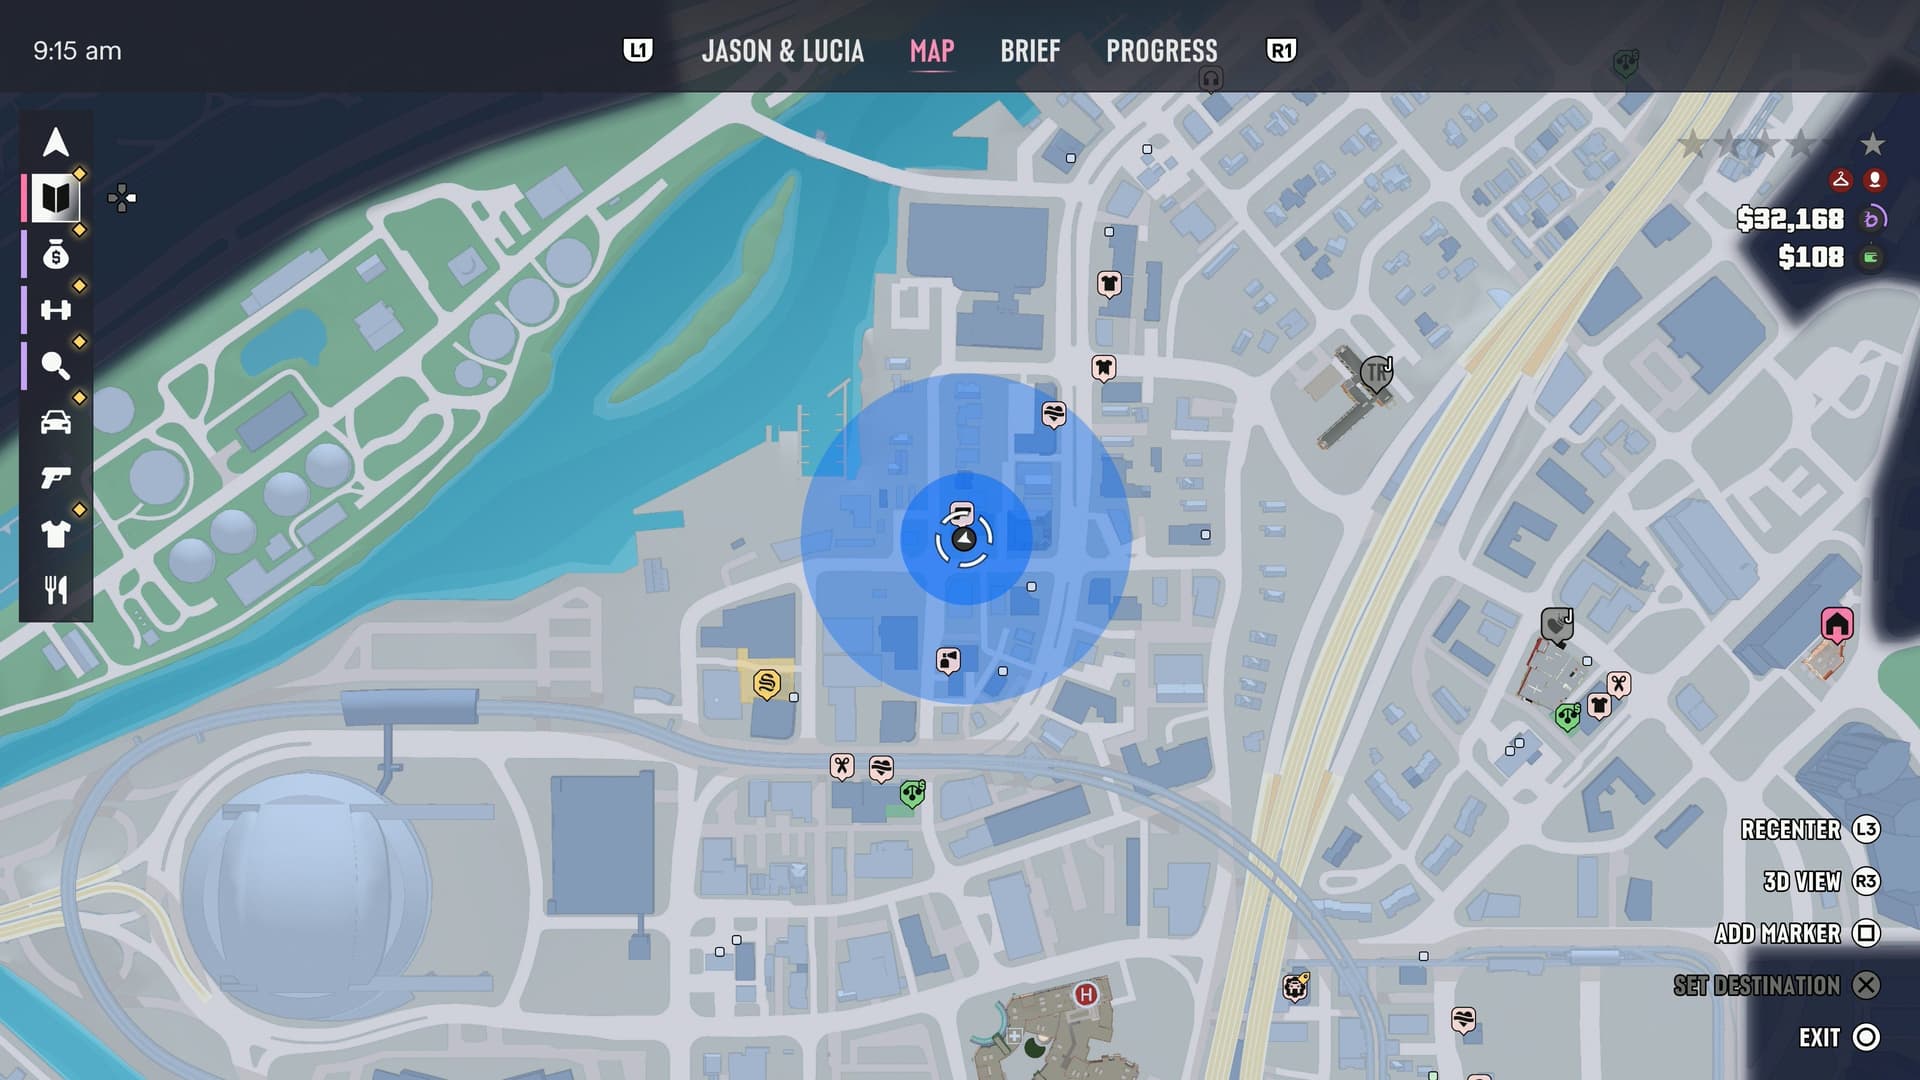
After a crime, the police search a circle around the spot where it happened. A blue circle means you haven't been linked to the crime yet, a red one means you have.
Being seen in the center of the circle will almost certainly raise suspicion, while the faint outer ring gives you a better chance to slip away. While the police are chasing you, the center of the circle moves with you.
Wanted Stars
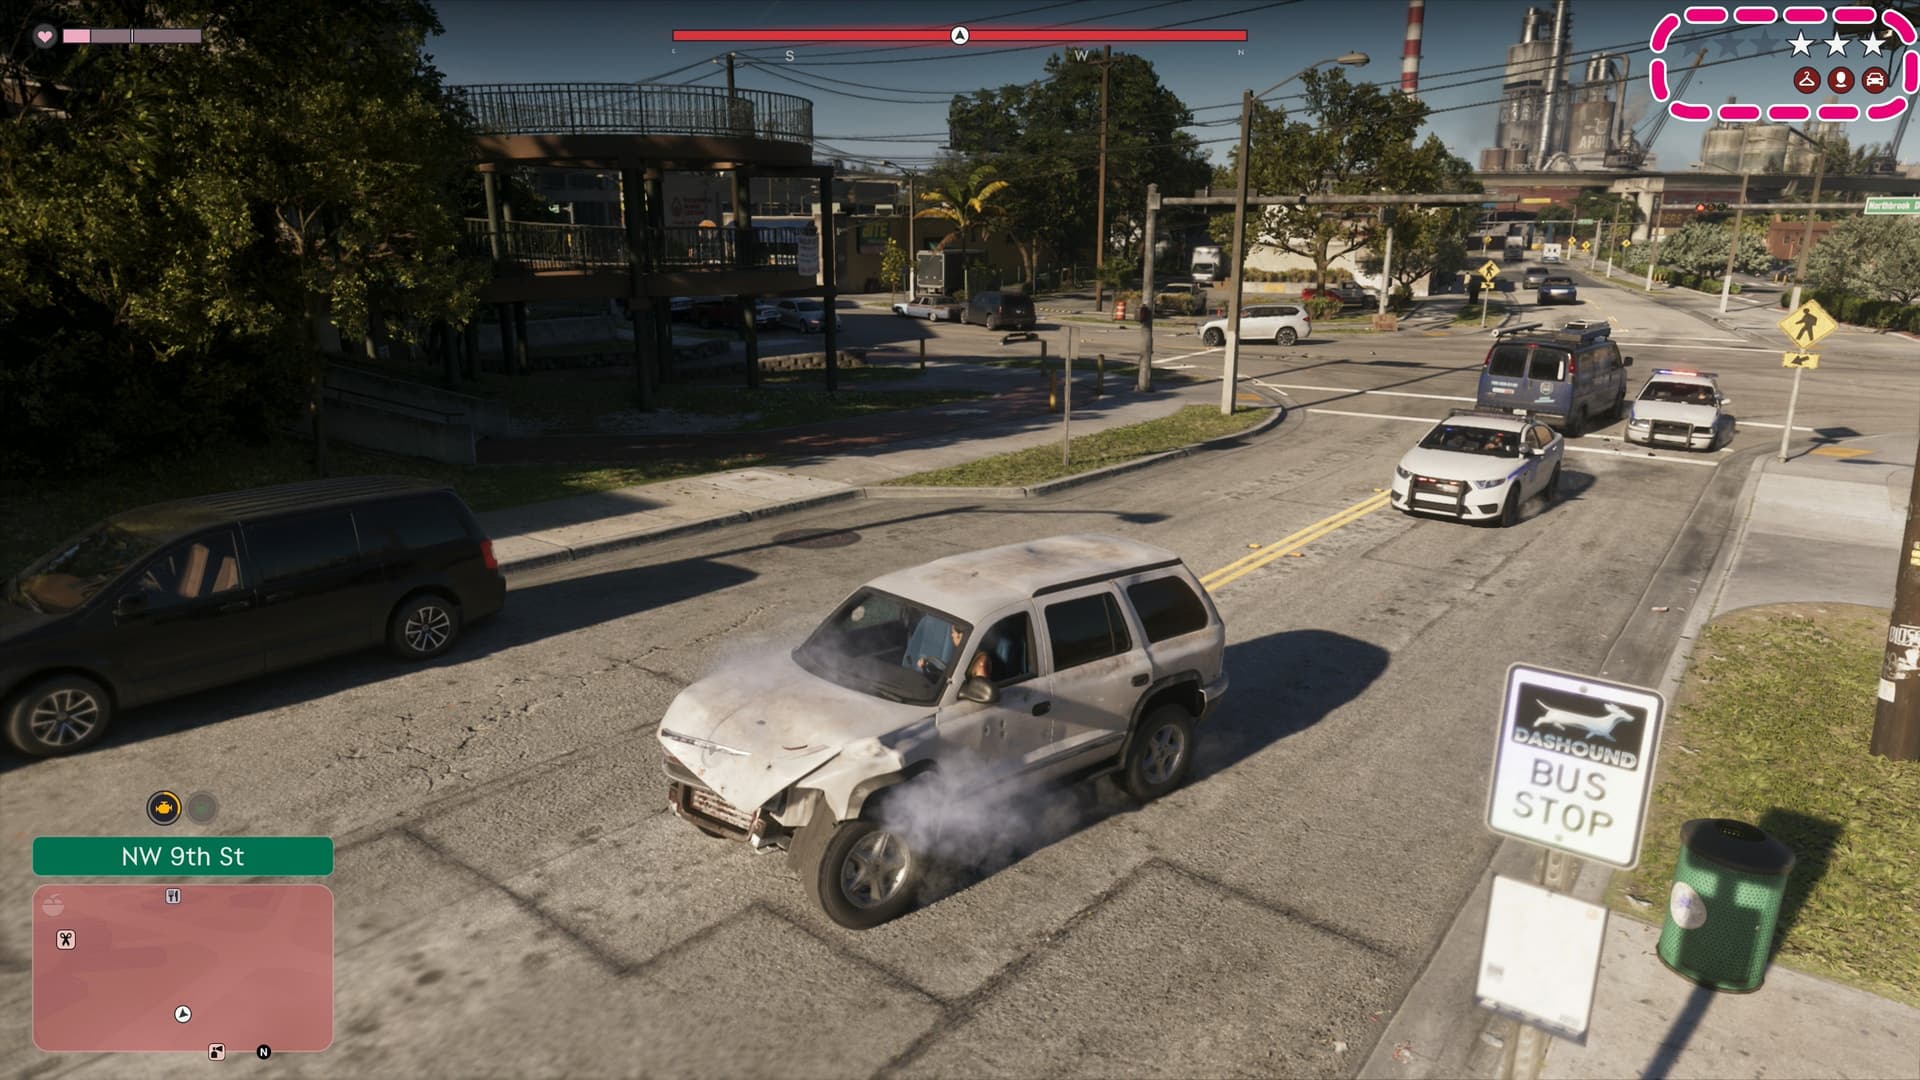
Wanted stars now come in different styles and colors:
- White outline — the police know a crime happened but not that it was you
- White stars — the police can see you and are chasing you
- Gray stars — the police lost you but are still searching. Get out of the search zone
- Red outline — a crime happened in this area, but you no longer match the description. The police are on alert
- Red stars — the police lost you but are looking for someone who matches your description
Heat
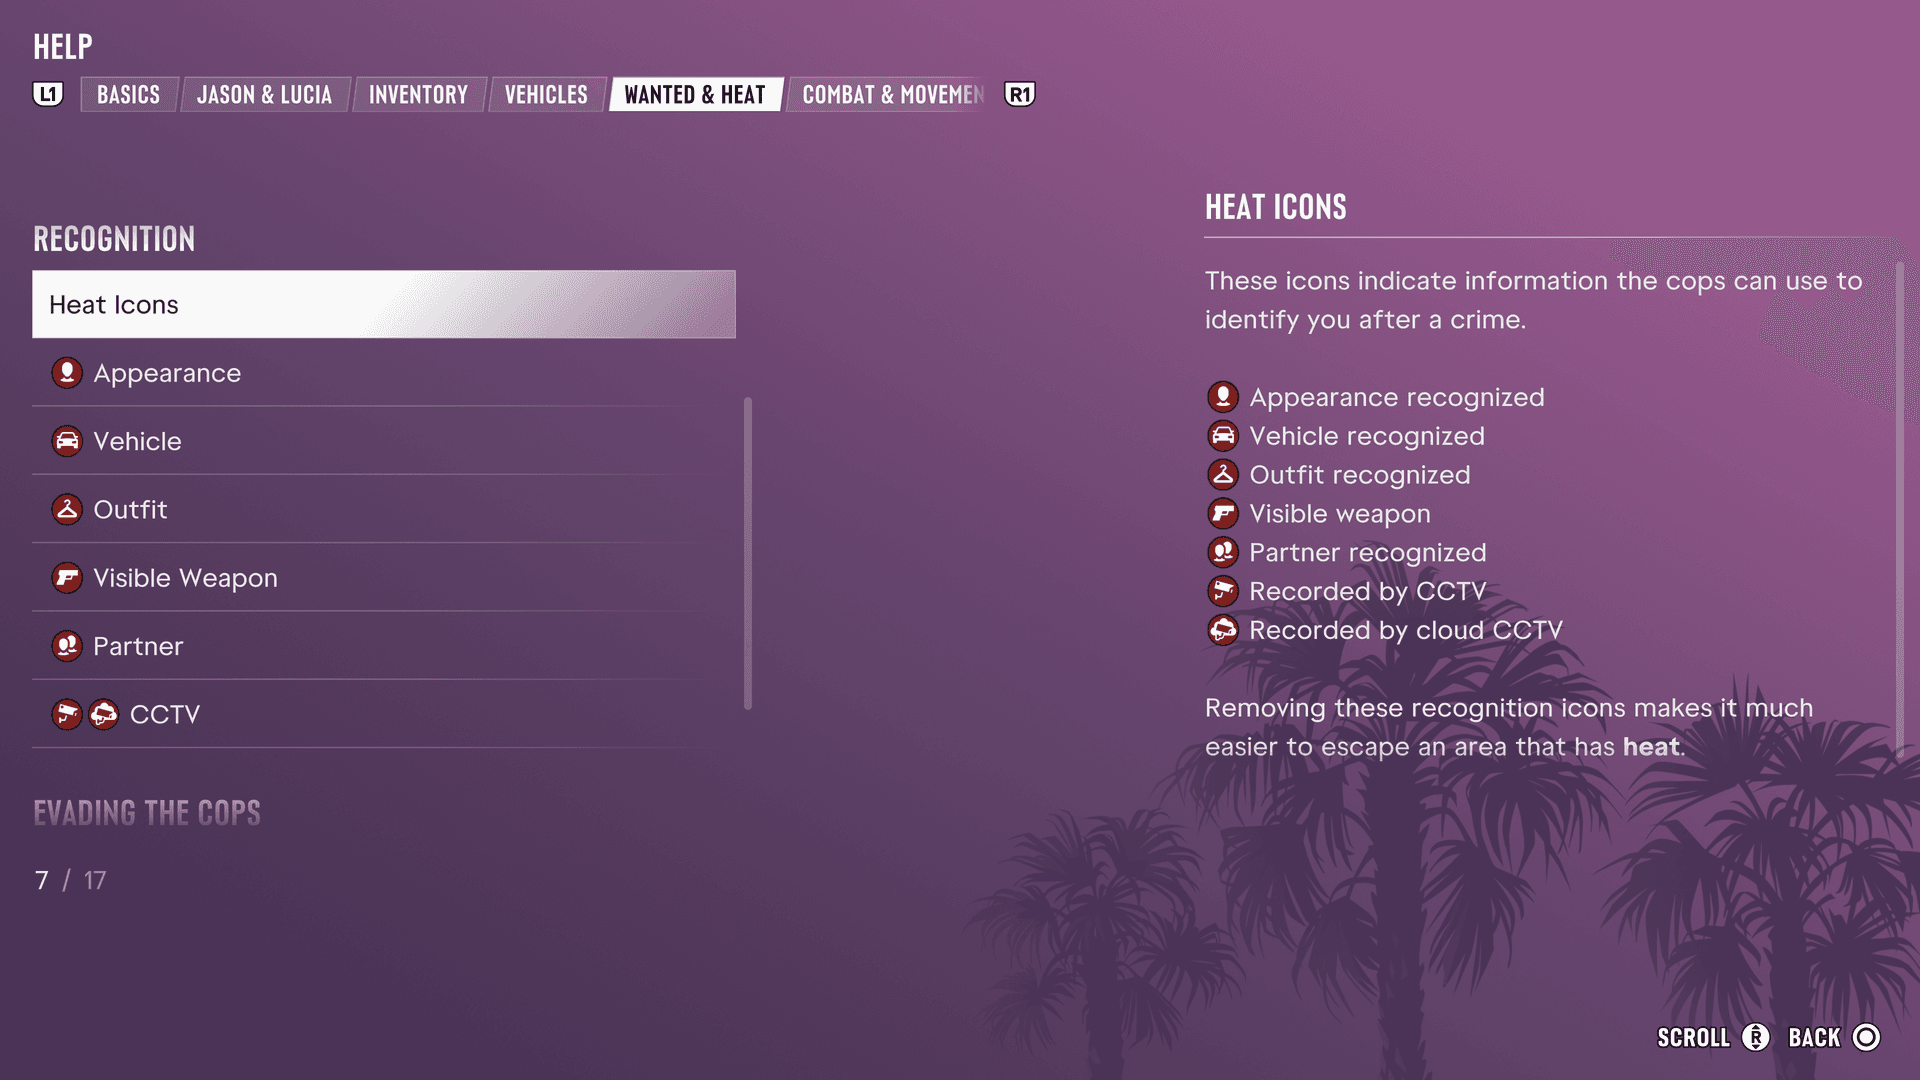
Red icons under the stars show what the police know about you: your vehicle, your looks, your weapon. To clear them, repaint your car, change clothes or switch weapons. Heat also fades over time if the police don't spot you.
How to escape a chase and clear your wanted level is covered in our wanted level and police guide.
Click both sticks to slow down time and drain the color from the world, revealing sound sources and important objects. On foot and out of combat, Focus lasts 30 seconds. While driving, it helps you nail a tricky turn, but the faster you go, the shorter it lasts.
Objects in Focus are highlighted by color:
- Red — weapons, explosives and enemies
- Purple — drugs and other goods you can sell
- Green — cash
- White — things you can interact with, like doors
Combat Focus
Combat Focus unlocks in Chapter 1. Use Focus while aiming to see weak spots: some incapacitate an enemy, others kill. The slow motion helps you win a firefight when you're outnumbered, but the Focus meter drains constantly, and every shot takes another chunk.
Jason and Lucia each have three stats:
- Health (pink heart): if it runs out, you're wasted
- Stamina (blue lightning): used for sprinting and workouts
- Focus (purple eye): spent in Combat Focus
Temporary Boosts
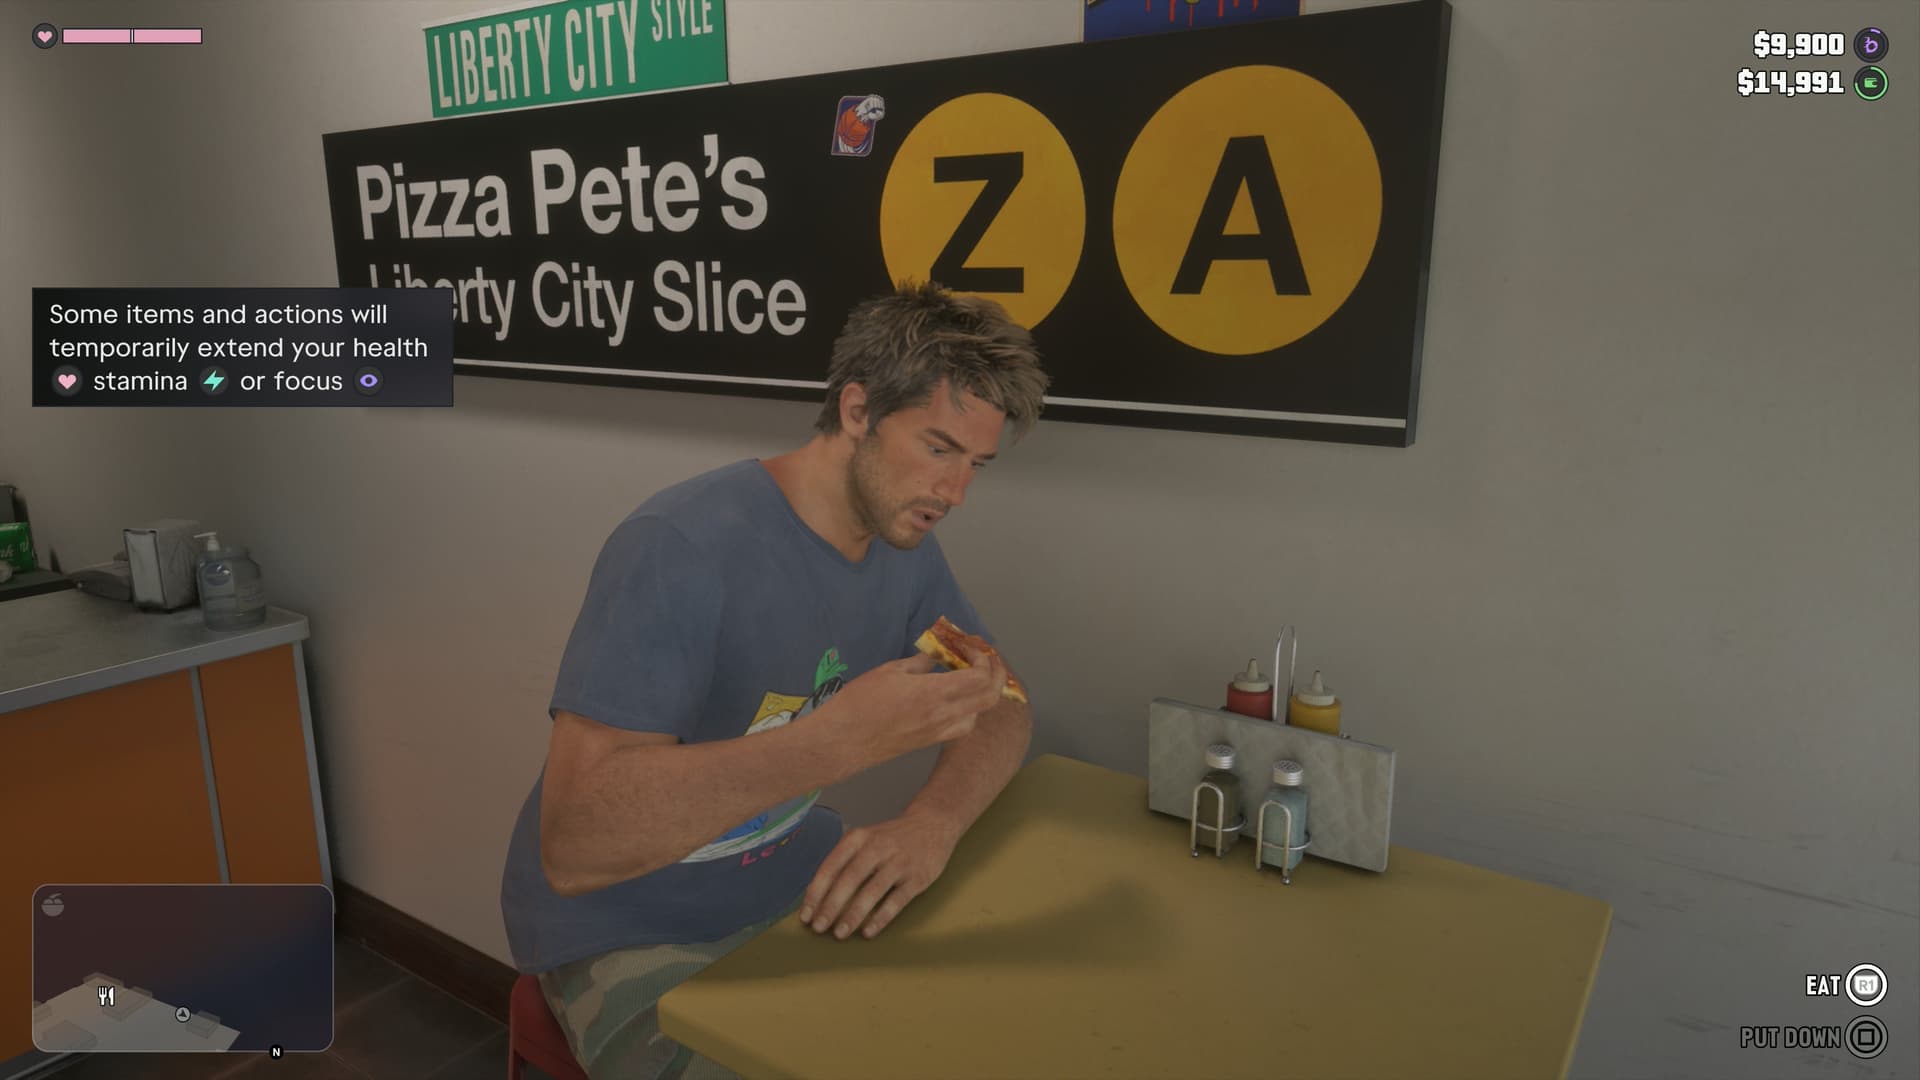
Before a big mission, have a snack: food and drinks temporarily extend your stat bars. Food is free at your safehouse, and you can also buy it at convenience stores, restaurants and gas stations. Apples, water coolers and sodas can be found out in the world too. The quickest way to boost all three bars is a drink of water and an apple.
Permanent Upgrades
Each stat has four levels, and a new one unlocks when its progress wheel fills up. Health grows with weightlifting and gym equipment, Stamina with running, cycling and treadmills.
Focus improves through fishing, pool, golf and shooting ranges, and even a little from petting animals. It also grows in combat, depending on your profile: Professional and Hardened characters improve it with non-lethal takedowns, Violent and Psycho ones with headshot kills.
Jason and Lucia are criminals either way, but you decide what kind. Each has their own profile, and there are five in total:
- Professional
- Hardened
- Violent
- Psycho
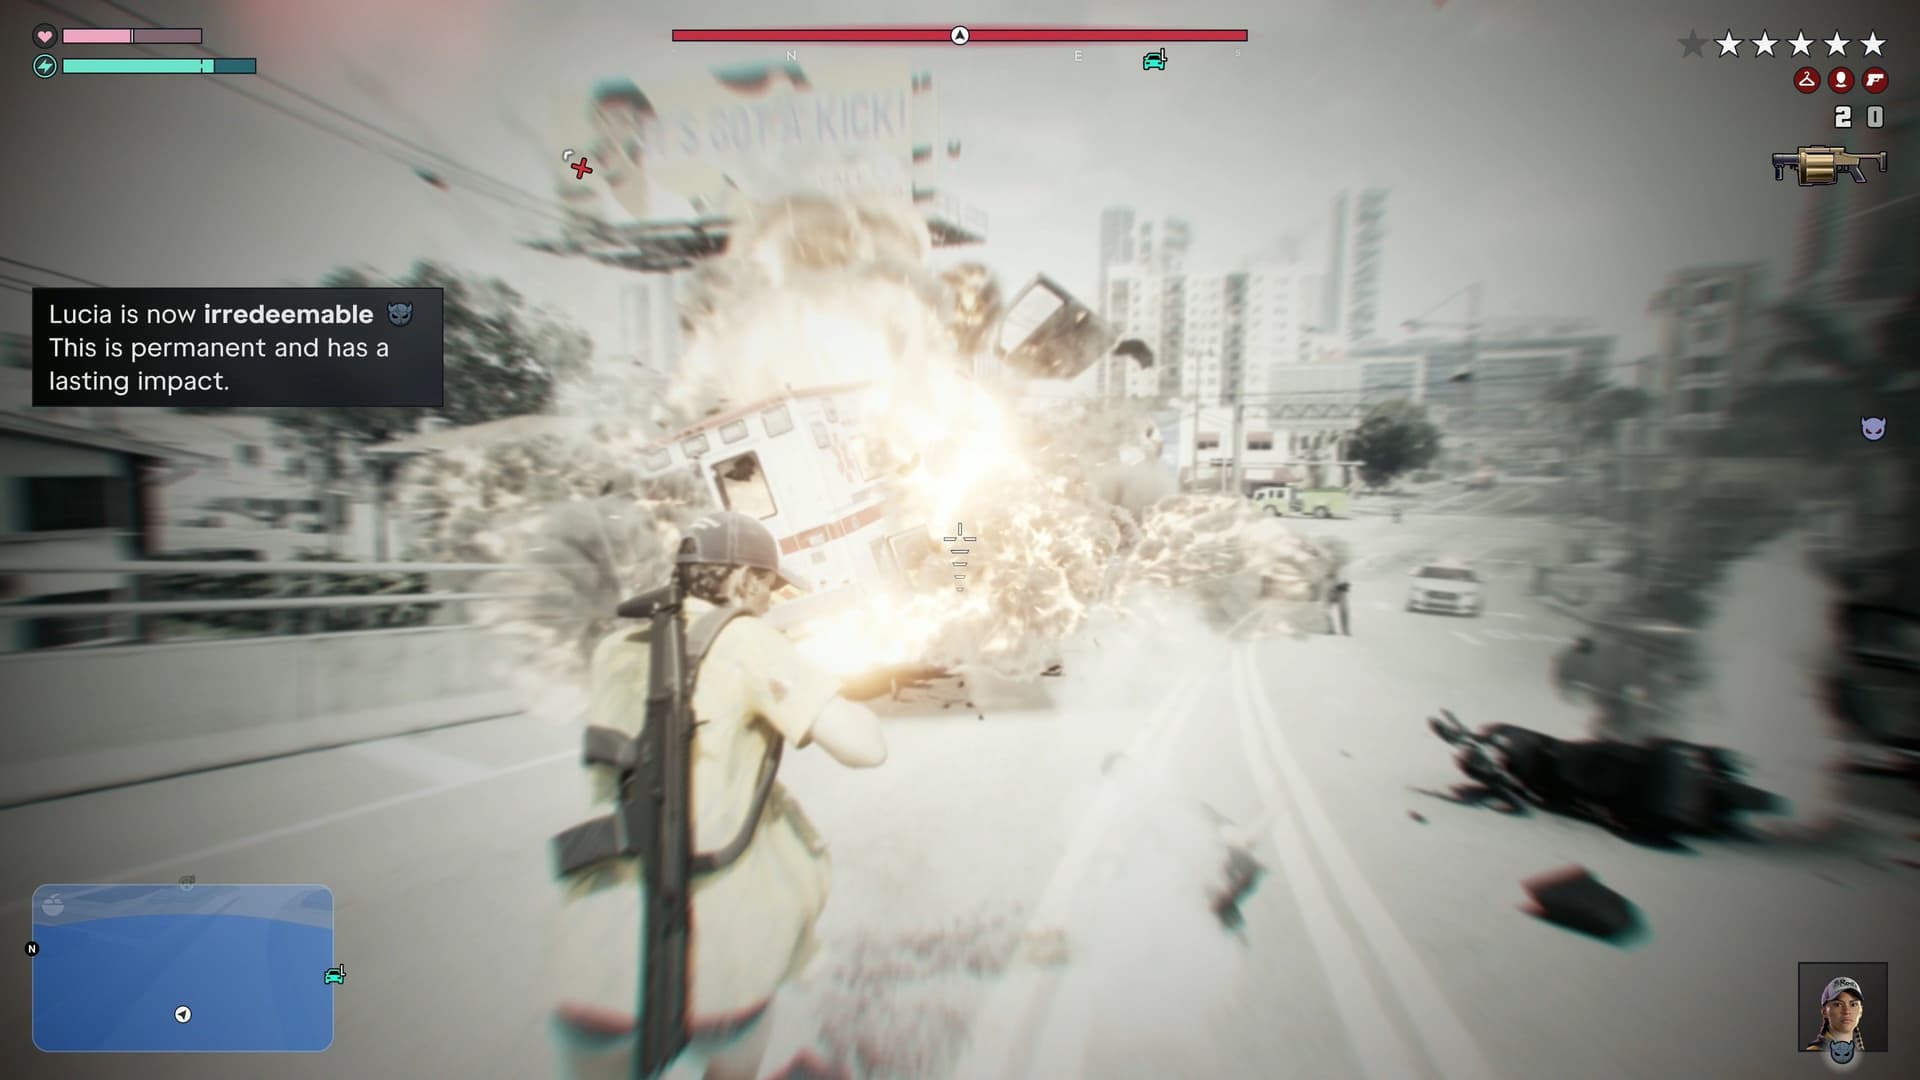
- Irredeemable
Professionals get the job done with as few casualties and as little noise as possible and get away clean. Violent and Psycho criminals don't care about the body count or being seen. There's no penalty for any playstyle, so play the way you like. Irredeemable is for the most brutal criminals: once you get it, the profile can't be changed.
Romance between the two is optional. They'll work together no matter how they feel about each other, but the story may play out differently. Romantic scenes and sex are only possible between Jason and Lucia.
Relationship Level
You can see the level on the stats screen: open the map and press L1 / LB. There are four levels:
- Running on Empty (1/4)
- Partners in Crime (2/4)
- Crazy in Love (3/4)
- Hot Together (4/4)
For a quicker look, hold right on the D-pad: in this menu, the heart between the portraits shows your relationship, and your Criminal Profile is shown too. Here you can also ask your partner to hang out and, when you're together, have them help with a crime or hand over weapons or a stash bag.
The relationship improves when the characters spend time together, hold hands and dance. It gets worse if you ignore your partner's calls and messages, rarely meet up or don't do what they ask during missions. The level can go up and down, so a single slip won't ruin things.